

Connecticut Wall-Leak Guide
Window Flashing and Siding Leaks in Connecticut: What Homeowners Should Check
Water beside a window does not automatically mean the window itself failed. The path may begin at the trim, siding, flashing, housewrap, roofline, or gutter above it.
Window flashing and siding leaks in Connecticut should be diagnosed as a wall system, not guessed from one stain. A draft, fog between panes, interior condensation, a leaking window unit, and rain entering behind the siding are different problems that can look similar from inside the room.
The most dependable repair begins by matching the moisture pattern to the exterior conditions. Did it appear during wind-driven rain, after an ice or snow event, beneath an overflowing gutter, only on cold mornings, or after replacement windows or siding were installed? That history helps determine whether the next step is maintenance, targeted opening, window work, siding and flashing repair, or a broader exterior project.
Connecticut homes face heavy rain, wind, snow, ice, humid summers, and repeated freeze-thaw movement. Caulk remains useful at specified joints, but an exposed bead should not be the only thing keeping water out of a layered wall assembly.
Start With the Symptom
Separate a window problem from a wall-drainage problem before choosing the repair.
Window-unit clues
Water between panes, failed glazing seals, damaged frames, blocked window drainage paths, or leakage through an operable sash may point toward the window itself.
Wall-system clues
Staining above or beside the opening, soft trim or sheathing, wet insulation, or leakage during wind-driven rain can point to flashing, siding, or drainage-layer defects.
Exterior-source clues
An overflowing gutter, short roof overhang, roof-wall intersection, missing kickout flashing, or concentrated downspout discharge can send water toward a window from well above it.
Interior condensation is another possibility. Moisture on the room-side glass during cold weather may be connected to indoor humidity and surface temperature rather than rain entering the wall. Our guide to roof leaks versus condensation in Connecticut explains the same diagnostic principle at the ceiling and attic: identify the moisture source before paying for the wrong repair.
Do not rely on the wet spot alone. Water can enter at the head of a window, travel behind trim or along sheathing, and appear at a lower corner. It can also enter at a roof or gutter detail above the window and follow framing before becoming visible indoors.
How the Wall Drains
The finished siding is only the first layer in the water-control path.
Most siding systems are designed to shed the majority of rain, but the wall behind the siding still needs a planned drainage path. The water-resistive barrier—often called a WRB or housewrap—should connect to the flashing around windows, doors, decks, roof-wall intersections, penetrations, and other interruptions in the wall.
| Layer or detail | What it should do | What the homeowner should ask |
|---|---|---|
| Siding or cladding | Shed most rain while allowing the specific system to drain and move as designed | What material, profile, clearances, fastening method, and manufacturer instructions apply? |
| Water-resistive barrier | Provide a continuous drainage plane behind the siding | How will existing WRB be exposed, repaired, lapped, taped, or replaced? |
| Sill or pan flashing | Collect incidental water at the rough opening and direct it outward | Is the opening set up to drain to the exterior instead of trapping water? |
| Jamb flashing | Connect the sides of the opening to the wall’s drainage layers | How do the side laps connect to the sill and head sequence? |
| Head flashing or drip cap | Direct water above the opening out over the trim or cladding below | Does it extend and terminate correctly, and is the WRB lapped over it? |
| Trim, channels, and sealant | Finish edges without blocking the drainage path | Which joints are intentionally sealed, and which locations must remain able to drain? |
Connecticut’s current residential wall provisions call for corrosion-resistant flashing at exterior window and door openings and describe a shingle-fashion approach that directs water to the exterior wall finish or to the water-resistive barrier for drainage. The exact approved detail still depends on the wall, window, flashing, and cladding manufacturer instructions.
The Polymeric Exterior Products Association installation manual tells installers to review local code and product instructions before installing vinyl siding. Its guidance also treats flashing and a water-resistive barrier as work that happens before the finish panels cover the wall.
Behind the Finished Siding
The weather barrier must connect to the openings and transitions.
This official James Hardie installation image shows a weather barrier before the finished siding is applied. The visible field of WRB is only part of the job. Openings, seams, corners, penetrations, roof-wall intersections, and the bottom of the wall determine whether water can keep moving down and out.
A siding repair should not leave the new membrane reverse-lapped behind the old layer, stop short of the window flashing, or create a sealed pocket with no drainage path. When a small area is opened, the contractor needs enough access to make durable laps—not just enough space to hide the opening with trim.
For a broader material and wall-preparation comparison, read the James Hardie siding guide for Connecticut homeowners and the vinyl siding installation guide for Southbury.

Read the Pattern
When the leak appears can narrow the inspection without proving the cause.
A pattern is a starting point, not a remote diagnosis. More than one defect can be present. A failed window seal can coexist with missing head flashing, and an overflowing gutter can expose a marginal siding or trim detail that stayed dry during ordinary rain.
A Useful Investigation
Document first, then open only enough of the wall to see the critical layers.
Record the conditions
Photograph the interior and exterior, note rain direction and intensity, track when the area dries, and mark the edges of staining without damaging the finish.
Inspect connected systems
Follow the wall upward to roof edges, gutters, dormers, valleys, decks, vents, lights, hose bibs, trim bands, and other places that interrupt drainage.
Create targeted access
When evidence supports it, remove enough siding and trim to inspect the WRB, flashing sequence, sheathing, opening, and concealed damage before prescribing the permanent repair.
Moisture meters, thermal patterns, borescopes, or carefully controlled water testing may help a qualified professional, but each tool has limits. Water testing should be planned in sections so it does not overwhelm an assembly, wet unrelated areas, or create false conclusions. A broad hose spray proves very little if several joints are soaked at once.
If the wall feels soft, trim is loose, mold-like growth is present, or water is near electrical components, avoid destructive DIY probing. Keep people and belongings clear of the affected area and arrange an appropriate inspection. Interior drying and cleanup may also be needed, but drying the stain does not correct the exterior entry path.
Match the Repair to the Evidence
The right scope may be maintenance, a focused opening, window work, or siding replacement.
| Possible scope | When it may fit | What should be documented |
|---|---|---|
| Specified sealant maintenance | The joint is intended to be sealed, adjacent materials are sound, and the drainage path is intact | Surface preparation, compatible sealant, backer material if needed, joint locations, and cure requirements |
| Targeted siding and trim opening | Evidence points to a local flashing, WRB, trim, or sheathing defect and durable laps can be created | Removal limits, matching materials, flashing sequence, sheathing condition, photographs, and finish restoration |
| Window repair or reinstall | The unit, rough opening, pan, flange, or opening integration is the documented problem | Who owns window work, interior protection, opening preparation, flashing instructions, air sealing, trim, and finish repairs |
| Partial wall or elevation repair | Several openings share a failed detail or the existing WRB cannot be tied in reliably through a tiny opening | Termination points, transitions to existing siding, color and profile match, WRB continuity, and hidden-damage pricing |
| Full siding replacement | Siding is broadly deteriorated, wall preparation is inadequate, many openings need correction, or the owner is already planning an exterior upgrade | Removal, sheathing, WRB, every opening and penetration, trim package, connected roof and gutter work, product records, and warranties |
| Roof or gutter correction | Runoff from above is feeding the wall defect | The source repair plus any wall, trim, insulation, sheathing, or interior damage caused below it |
Our Connecticut kickout flashing guide explains one common roof-to-wall handoff, while the gutter replacement guide covers drainage and roof-edge questions that can matter above a leaking window.
Be cautious when every diagnosis produces the same sales recommendation. A replacement window does not automatically repair reverse-lapped housewrap above it. New siding does not automatically repair a leaking roof-wall intersection. More caulk does not rebuild rotten sheathing. The written scope should follow the evidence and name the connected work.
Plan the Whole Elevation
Repeated window leaks may reveal a shared installation detail.
One opening can have a local defect. Several windows on the same elevation can point toward a repeated head-flashing, WRB, trim, or siding condition. The inspection should compare what the openings have in common before several unrelated repairs are approved.
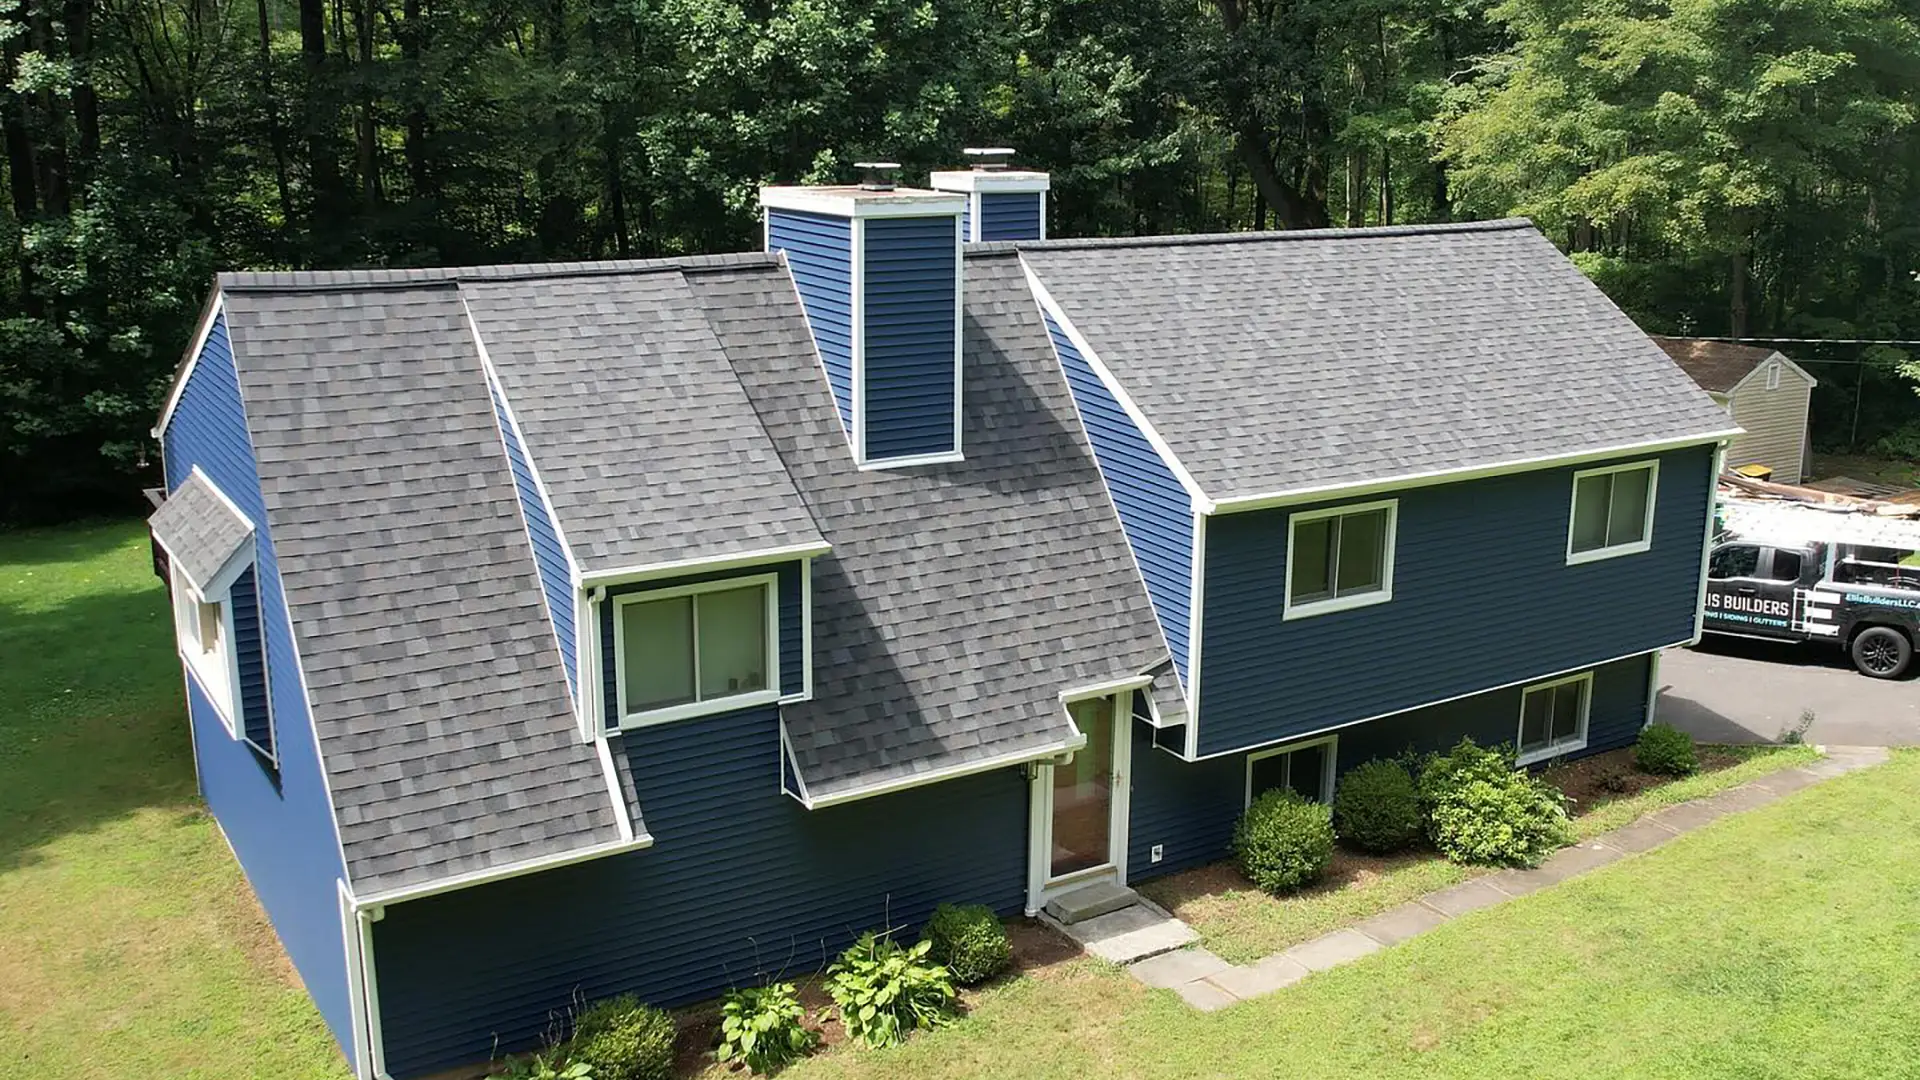
Architecture matters too. Gable walls, dormers, bay windows, roof returns, additions, band boards, decks, and changes in cladding create transitions where the drainage path needs to remain continuous. A leak below one feature may begin at the next transition above it.
Ellis Builders can review siding, trim, accessible wall conditions, roof edges, and gutters as connected exterior systems. Explore Connecticut siding services, roofing services, gutter services, or the Connecticut home exterior remodeling guide.
Connecticut Planning
Use the current code, local building department, and product instructions for the actual scope.
Connecticut identifies the 2022 Connecticut State Building Code, based on the 2021 International Codes, as the current code for permit applications filed from October 1, 2022. The state’s residential wall-covering provisions address water-resistive barriers and flashing at exterior openings, but the approved project detail still depends on the home, permit scope, and selected products.
Permit and inspection requirements vary with the work and municipality. A sealant-maintenance visit is not the same scope as removing siding, replacing sheathing, altering a rough opening, installing a new window, or rebuilding a wall. Confirm the path with the local building department before work begins rather than treating a previous project in another town as the answer.
The Building Science Corporation guide to pan flashing for exterior openings is a useful explanation of drained window openings: the sill area needs to collect incidental water and direct it back over the wall’s drainage plane to the exterior. Product-specific installation instructions and approved plans control the exact materials and sequence used at your house.
Homeowner Quote Checklist
Make the hidden window and wall work visible in the written scope.
- What evidence identifies the likely water entry path?
- Has the window unit been separated from the wall, roof, gutter, and condensation possibilities?
- Which siding, trim, and interior finishes must be removed?
- How much access is needed to create durable flashing and WRB laps?
- Will the sill or pan, jambs, head, and drip cap be inspected?
- How will the water-resistive barrier be repaired or replaced?
- What window, flashing, siding, trim, and sealant instructions control the work?
- How will sheathing, framing, insulation, and hidden damage be documented?
- What unit prices or approval steps apply to concealed repairs?
- Who is responsible for window work, siding work, roofing, gutters, and interior repairs?
- How will temporary weather protection be maintained while the wall is open?
- Will replacement siding, trim, and finishes match the existing exterior?
- Which permits and inspections are included or required?
- Will photographs be provided before the repaired layers are covered?
- What product records and written workmanship coverage will the homeowner receive?
- What final water-management review and cleanup are included?
After the Repair
Keep the photographs and records for the details you can no longer see.
Save the original symptom photos, inspection notes, contract, change orders, permits, moisture or test records, product names, installation instructions, serial numbers, warranties, and photographs of each concealed repair layer. Label the images by window or elevation so a future owner or contractor can understand what was done.
After rain from different directions, inspect the interior trim, sill, wall below, and accessible exterior. Also watch the roof edge and gutter above the repair. A dry result during one light shower is encouraging, but it does not recreate every storm condition that produced the original leak.
FAQ
Window flashing and siding leak questions from Connecticut homeowners.
Does water beside a window mean I need a new window?
No. The source may be the window unit, but it may also be siding, trim, flashing, housewrap, a roof detail, a gutter, or condensation. Diagnose the path before choosing replacement.
Can caulk stop a siding leak around a window?
Caulk can maintain joints that are designed to be sealed. It does not replace missing flashing, correct reverse laps, rebuild rotten sheathing, or create a drainage path behind siding.
Does siding need to come off to repair window flashing?
Often some siding or trim must be removed to inspect and integrate concealed layers. The amount depends on the wall, damage, existing details, and access needed for durable overlaps.
What is a water-resistive barrier behind siding?
It is the drainage layer behind the cladding that helps direct water down and out. It must remain continuous and connect correctly to flashing at windows, doors, and other interruptions.
Can an overflowing gutter cause a window leak?
Yes. Concentrated roof runoff can wet fascia, soffits, trim, siding, or wall details above a window. The full path from roof to ground should be inspected.
Does window flashing repair need a permit in Connecticut?
Requirements depend on the scope and town. Confirm with the local building department before siding removal, sheathing or framing repair, window replacement, or opening changes begin.
Next Step
Have the window, wall, roof edge, and drainage path evaluated together.
Ellis Builders can review the visible moisture pattern, siding, trim, accessible wall conditions, roof intersections, and gutters, then explain whether the evidence supports maintenance, a targeted opening, window coordination, siding repair, or a broader exterior project.
Connecticut Siding Contractor
Ellis Builders in Southbury, CT
Ellis Builders is based at 238 Reservoir Rd in Southbury and helps homeowners plan siding, roofing, gutter, and exterior remodeling work across New Haven County, Litchfield County, Fairfield County, and surrounding Connecticut communities.
Explore Connecticut siding services, review roofing services and gutter services, or request an exterior evaluation.
Planning references used in this guide include Connecticut’s current building-code resources, the PEPA vinyl siding installation manual, and Building Science Corporation’s pan-flashing guide.