Connecticut Commercial Roof Planning
Before a Commercial Roof Is Installed in Connecticut: An Owner Coordination Checklist
The best time to solve a roof interface is before the deck, insulation, membrane, flashing, or rooftop equipment hides it. A coordinated start protects the building owner long after the installation crew leaves.
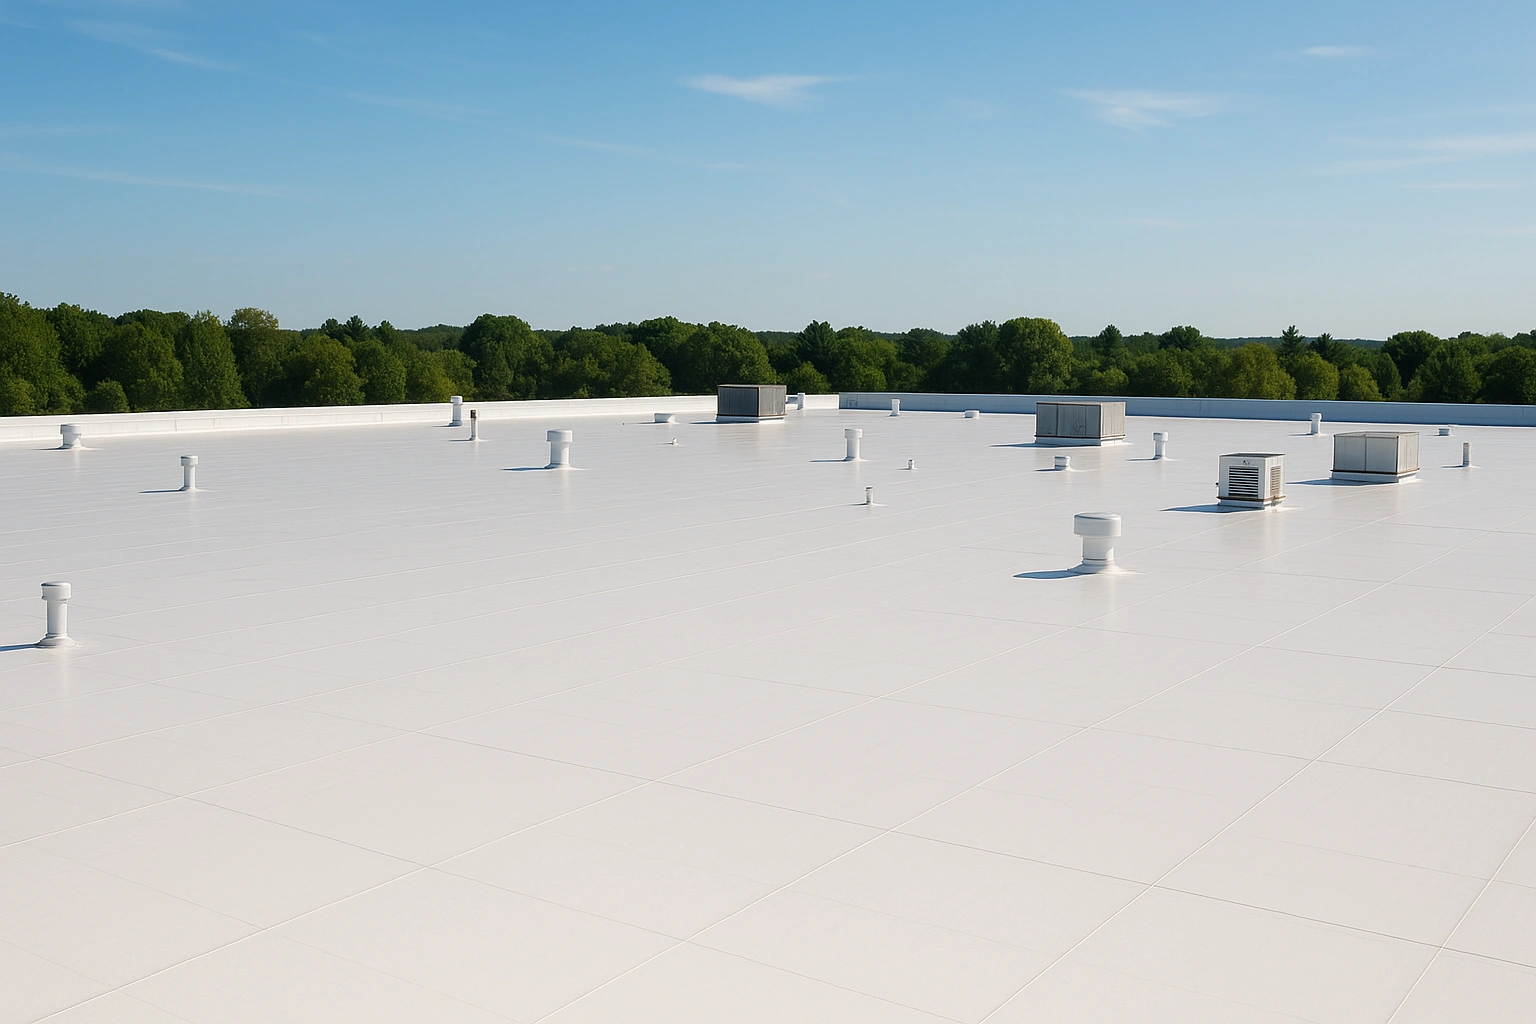
A commercial roof preinstallation checklist in Connecticut should connect the roof design to the actual deck, drainage, equipment, trades, weather plan, inspection sequence, and warranty path before materials are installed. Owners often receive a membrane name and a warranty term, but those two items do not describe the complete roof. The performance of a low-slope assembly depends on what is below the membrane, how water reaches the drains, how the roof terminates at edges and walls, and how every penetration is supported and flashed.
This guide is for owners, developers, property managers, associations, construction managers, and facilities teams planning a new commercial roof, an addition, or a major roof replacement. It does not replace project-specific design, code review, engineering, manufacturer requirements, or the authority of the local building official. Its purpose is to help the owner ask complete questions early enough for the answers to shape the work.
Connecticut search results contain many contractor pages listing TPO, EPDM, PVC, modified bitumen, metal, and coatings. The more useful owner question is not simply which product is available. It is whether the proposed assembly, details, trade sequence, field quality plan, and closeout records all match the building. Ellis’s commercial roofing services page covers the broader service scope; the checklist below focuses on the decisions that belong before installation.
Start With the Owner Brief
Define how the building will use the roof before comparing products.
A warehouse, restaurant, school, medical building, office, retail center, condominium, and industrial facility can place very different demands on a roof. Interior humidity, process exhaust, grease, chemicals, rooftop traffic, tenant equipment, operating hours, insurance criteria, fire classification, wind exposure, energy targets, solar plans, and expected ownership horizon can all affect the appropriate assembly and details.
Building use
Document occupancy, interior temperature and humidity, sensitive contents, kitchens or process areas, shutdown limits, and spaces that cannot tolerate odor, dust, noise, vibration, or water interruption.
Roof access
Identify permanent access, ladders and hatches, service routes, guard or fall-protection needs, staging limits, crane locations, delivery routes, and where materials may safely be stored.
Equipment plan
List every existing and planned rooftop unit, curb, exhaust, intake, pipe, duct, conduit, antenna, screen, solar component, drain, hatch, skylight, and support. Assign a trade and final detail to each one.
Water plan
Confirm design slopes, primary drains, secondary drainage or overflow provisions, scuppers, gutters, downspouts, discharge locations, tapered insulation, crickets, and the route water takes during heavy rain.
Performance goals
Write down the desired service life, warranty type, thermal target, reflectivity, hail or impact concerns, wind criteria, foot-traffic expectations, maintenance plan, and future expansion needs.
Decision authority
Name who can approve substitutions, hidden-condition work, schedule changes, temporary protection, detail revisions, and added cost. A fast answer is easier when the authority is settled before the roof is open.
The owner brief should also say what evidence is needed at handoff. If the facilities team expects an accurate roof plan, concealed-condition photographs, drain locations, approved detail sheets, inspection reports, warranty contacts, and maintenance instructions, those deliverables belong in the contract—not in a last-week request.
For an occupied replacement rather than new construction, use Ellis’s occupied-building reroof planning guide to add work-zone maps, tenant communication, daily dry-in, air-intake controls, interior protection, and emergency contacts.
Confirm the Whole Assembly
A membrane warranty cannot correct an incompatible or incomplete roof build-up.
Ask for a written roof assembly from the structural deck to the exposed surface. It should identify the deck type and condition, substrate preparation, temporary protection, air or vapor control where required, insulation type and thickness, layer arrangement, tapered components, cover board, adhesives or fasteners, attachment pattern, membrane or roof covering, flashings, edge metal, sealants, accessories, and manufacturer-approved details.
| Assembly question | Why the owner should ask now | Evidence to request |
|---|---|---|
| What deck will receive the roof? | Steel, concrete, cementitious wood fiber, gypsum, and wood decks have different fastening, moisture, repair, and preparation needs. | Deck type, drawings, field verification, repair criteria, pull tests or other project-specific checks. |
| How will construction moisture be controlled? | Rain, wet materials, damp concrete, and interior moisture can become trapped within the assembly. | Storage rules, dry-substrate requirements, concrete moisture plan, temporary covers, wet-material rejection procedure. |
| What controls air and vapor movement? | Interior moisture can migrate into colder roof layers if the building use and assembly are not evaluated together. | Project-specific design decision, continuity details, transitions at walls and penetrations, compatible materials. |
| How is insulation arranged? | Thickness, joints, multiple layers, slope, crickets, sumps, and attachment affect drainage, thermal performance, and membrane support. | Insulation plan, tapered layout, R-value basis, fastening or adhesive plan, drain and curb elevations. |
| Is a cover board included? | A cover board can provide a firmer surface and added protection, but type, thickness, location, and attachment must fit the listed system. | Product data, assembly approval, attachment pattern, detail at edges, drains, curbs, and transitions. |
| How is the membrane secured? | Fully adhered and mechanically attached systems distribute loads differently and require different field and perimeter details. | Approved assembly, wind-uplift basis, fastener or adhesive requirements, perimeter and corner enhancement. |
| What is included in the warranty? | A headline term may not include every component, leak cause, labor item, or rooftop alteration. | Sample warranty, covered assembly, exclusions, owner duties, inspections, approved installer, final acceptance process. |
The Connecticut Department of Administrative Services’ current consultant procedure manual includes practical roof coordination principles for public capital work, including attention to moisture in new concrete decks, compatible roof-system components, approved supports for rooftop services, temporary watertight conditions, and insurer review where applicable. A private building may use a different design, but the owner still benefits from resolving those same interfaces on paper before installation.
Connecticut’s State Building Code page is the starting point for current adopted regulations. The registered design professional, contractor, manufacturer, and local authority should confirm the code edition, project classification, energy requirements, fire and wind criteria, permits, inspections, and any existing-building provisions that apply. Ellis’s roof permit planning guide provides a plain-language framework for municipal coordination.
Coordinate the Interfaces
Most roof details belong to more than one trade.
A roofing contractor can install an excellent membrane and still inherit a leaking project if the drain elevation is wrong, a curb arrives late, a duct is set directly on the roof, edge blocking is missing, a wall membrane cannot be tied in, or another trade cuts the finished roof without an approved detail. Every opening and termination should have an owner, a sequence, and an accepted detail.

Drains and overflows
Coordinate drain bodies, clamping rings, sumps, strainers, leaders, secondary drainage, overflow elevations, testing, and access. Confirm that tapered insulation guides water rather than creating isolated low areas.
Curbs and equipment
Confirm curb dimensions, height above the finished roof, leveling, attachment, insulation, flashable surfaces, counterflashing, equipment delivery, service clearances, vibration controls, and condensate routing.
Pipes, ducts, and conduits
Group penetrations where appropriate, provide manufacturer-accepted flashings, use designed supports, protect the roof from abrasion, and preserve clearance for inspection and repair.
Walls and parapets
Assign base flashing, wall membrane, sheathing, masonry, coping, counterflashing, through-wall components, terminations, and temporary weather protection in the correct sequence.
Edges and transitions
Coordinate perimeter blocking, fascia, edge metal, gutters, expansion joints, roof-to-wall changes, adjoining roof systems, walk pads, and termination bars with wind and warranty requirements.
Future rooftop work
Reserve locations for planned solar, communications, screens, tenant equipment, or additions. Establish who may authorize later penetrations and how warranty-compliant repairs will be documented.
The Connecticut Housing Finance Authority’s 2026 capital improvement guide asks owners to think ahead about equipment location, structural loading, required roof penetrations, flashing, and how equipment will affect a future roof replacement. Those questions are just as valuable on a privately owned building. A unit placed without future access or reroofing in mind can add cost and risk for decades.
If the project includes a building movement line, use Ellis’s commercial roof expansion-joint guide to coordinate the joint through walls, roof elevations, drainage, fire barriers, and transitions. If equipment work is the main risk, Ellis’s rooftop HVAC and roof-damage checklist helps define access, baseline photos, service routes, and post-work review.
Hold the Preinstallation Meeting
Put the people who own each interface in the same conversation.
A useful preinstallation meeting is not a ceremonial kickoff. It is the last practical chance to reconcile drawings, product approvals, field conditions, trade sequence, access, weather, quality checks, substitutions, and warranty requirements before repetitive work begins.
The Town of Clinton’s published roof project specification provides a strong model: the pre-roofing conference brings together the parties whose work touches the roof, including the owner, design team, deck or substrate installer, roofing installer, rooftop-unit or HVAC trades, and other contractors whose work must precede or follow roofing. Your project may have different participants, but no essential interface should be represented only by an unanswered note on a drawing.
Verify the starting condition
Review deck readiness, elevations, slopes, openings, blocking, curbs, walls, edge conditions, access, staging, dry storage, and any field difference from the drawings.
Approve the system path
Confirm the assembly, submittals, tested or listed system, manufacturer approvals, fastening or adhesive plan, substitutions, warranty level, and installer authorization.
Walk every interface
Assign drains, penetrations, curbs, joints, parapets, edges, equipment supports, walkways, screens, tie-ins, and temporary conditions to named parties.
Set the weather rules
Agree on temperature and moisture limits, forecast checks, daily opening size, exposed insulation limits, temporary tie-ins, end-of-day dry-in, and emergency response.
Set inspection hold points
Name what must be reviewed before it is covered, who receives notice, how deficiencies are recorded, how correction is verified, and when manufacturer inspections occur.
Confirm the handoff
Review testing, punch-list authority, record photographs, roof plan, warranty documents, owner training, access rules, spare materials, and maintenance schedule.
Record decisions in meeting minutes and updated submittals. If a question affects drainage, wind attachment, fire classification, energy performance, warranty eligibility, structural capacity, or a code requirement, do not leave the answer as a field assumption. Route it to the appropriate designer, manufacturer, authority, insurer, or specialist before the affected work is installed.
Inspect While the Evidence Is Visible
Quality control should follow the installation sequence, not wait for the final walk.
A final inspection can catch surface defects, but it cannot fully confirm deck repairs, concealed moisture, insulation joint layout, buried fasteners, adhesive coverage, vapor-control continuity, blocked drains, or details that are already covered. The quality plan should identify when each condition can still be observed and corrected.
| Hold point | What should be confirmed | Useful record |
|---|---|---|
| Before roof work starts | Approved documents, deck readiness, slopes, openings, curbs, edges, material storage, weather plan, access, and safety responsibilities. | Meeting minutes, field photos, approved submittals, condition report. |
| After deck preparation | Clean, dry, sound substrate; repairs complete; openings and blocking correct; unacceptable surfaces resolved. | Deck map, repair quantities, photos, test results where required. |
| During air/vapor and insulation work | Continuity, compatible transitions, dry materials, layer staggering, tapered layout, sumps, fastening or adhesive, and protected edges. | Daily photos, delivery records, marked roof plan, deficiency log. |
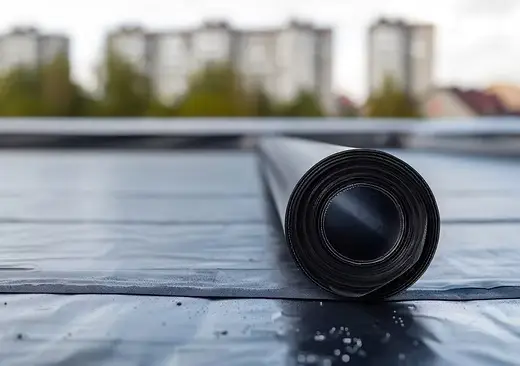
| During membrane installation | Sheet layout, attachment, adhesive application, laps, seams, T-joints, wrinkles, contamination, weather conditions, and daily temporary seals. | Daily report, seam or weld checks, weather record, corrective-action photos. |
| At flashings and penetrations | Attachment, height, corners, transitions, clamps, termination, counterflashing, sealants, and manufacturer-approved details. | Detail-by-detail photos, inspection notes, approved variance if applicable. |
| Before final acceptance | Drainage, debris, damage, walk pads, edge systems, punch-list corrections, tests, labels, access controls, and complete records. | Final roof plan, inspection reports, accepted punch list, warranty and training package. |
Carlisle SynTec’s commercial roof inspection guidance describes a systematic review of perimeters, roof-level seams, curbs, penetrations, drains, and the overall field. Johns Manville’s TPO application guide also emphasizes daily test welds, full seam checking, T-joint treatment, repair of voids, and adjustment when conditions change. The exact requirements depend on the chosen manufacturer and system, but the owner should expect a documented process—not a single end-of-job glance.
When a deficiency is found, record its location, responsible party, required correction, completion date, and verification. Repeated defects deserve a process correction, not only repeated spot repairs. If the same seam problem or fastening error appears across multiple roof areas, pause and correct the cause before multiplying it.
Compare Complete Scopes
Normalize proposals before comparing their totals.
Be cautious with a proposal that says only “install TPO roof,” “new EPDM system,” or “provide 20-year warranty.” Those descriptions do not identify the deck, insulation, attachment, perimeter enhancement, drainage, flashings, penetrations, temporary conditions, field quality checks, warranty exclusions, or who corrects an interface that another trade delivers late or incorrectly.
One proposal may include tapered insulation, cover board, manufacturer inspections, edge metal, walk pads, drain work, project photos, and complete closeout. Another may price only the membrane and basic accessories. Put every proposal into the same component list so the owner can see differences before the lowest number becomes a change-order problem.
If testing or openings show existing wet materials on a replacement project, Ellis’s wet-insulation scope guide explains how owners can separate symptoms from proof and map the repair boundary. For the larger repair-versus-replacement decision, review the commercial roof repair guide.
Build a Roof Record
Closeout should make the roof easier to operate, inspect, and repair.
A finished roof needs an owner file that future facilities teams and service contractors can actually use. Ask for a final roof plan that identifies roof areas, drains, scuppers, overflow routes, curbs, penetrations, hatches, skylights, expansion joints, access points, walk pads, equipment, warranty zones, and approved tie-ins. Attach the final assembly, product data, approved details, substitutions, inspection reports, testing records, progress photographs, deficiency corrections, permits, and acceptance documents.
Keep manufacturer and contractor warranties together, but read them separately. Record the effective date, term, covered components, exclusions, owner maintenance duties, required inspections, leak-report procedure, authorized repair rules, transfer terms, and contacts. A warranty should not be the first document opened after water reaches the interior.
Conduct an owner orientation before final payment. Walk the access route, drainage points, service paths, vulnerable flashings, roof hatch, restricted zones, snow or ice considerations, and emergency leak-response process. Make it clear that future HVAC, plumbing, electrical, solar, communications, and maintenance work must follow roof-access and warranty rules. Require post-work documentation when another trade touches the roof.
Set the first maintenance date while the project is still fresh. The frequency should match the roof system, manufacturer, warranty, exposure, building use, rooftop traffic, drainage, and past conditions. Also inspect after significant storms and after work by other trades. The goal is a continuous record of condition and changes, not a folder that disappears after construction.
Frequently Asked Questions
What Connecticut owners ask before commercial roof installation.
Who should attend a commercial roof preinstallation meeting?
Include the owner or authorized representative, roofing contractor, construction manager or general contractor, relevant design professionals, manufacturer representative when required, deck or substrate trade, HVAC or rooftop-equipment trades, and anyone whose work must happen before or after roofing.
Is choosing TPO, EPDM, or PVC enough to specify the roof?
No. The membrane is one layer of an assembly. The deck, air and vapor control, insulation, cover board, attachment, drainage, edges, flashings, penetrations, accessories, installation details, and warranty path all need to be defined.
What should be inspected before the membrane is installed?
Confirm the deck is acceptable, clean, dry, sound, and correctly sloped; repairs and openings are complete; curbs and blocking are ready; and the planned assembly can be installed without hiding unresolved conditions.
How should rooftop equipment be coordinated?
Confirm structure, curb and support details, finished height, attachment, flashing surfaces, service clearances, access routes, condensate, ducts, pipes, conduits, screens, and the trade responsible for each interface.
When should roof seams be checked?
Follow the manufacturer’s requirements during installation and before the day’s work is left exposed. Checks should respond to equipment starts, weather changes, work interruptions, detail types, and the selected membrane system.
What should a commercial roof closeout package include?
Keep the as-built roof plan, final assembly, approved details and substitutions, product data, inspection and test reports, photographs, permits, warranties, contacts, owner training, maintenance requirements, and repair history.
Who approves a field detail that differs from the plans?
Use the project’s written review path. Depending on the issue, approval may need the architect or engineer, roof-system manufacturer, owner, authority having jurisdiction, insurer, or another responsible specialist—not only a field conversation.
Can Ellis Builders help before construction starts?
Ellis Builders can help Connecticut owners review accessible commercial roof conditions, clarify roofing and exterior interfaces, plan installation or replacement scope, and coordinate practical questions with the project team.
Next Step
Resolve the roof interfaces while they are still lines on a plan.
Ellis Builders can help Connecticut owners, developers, property managers, and associations plan commercial roofing work around the building, drainage, equipment, access, weather, warranty, and long-term maintenance—not just the visible membrane.
Connecticut Commercial Roofing Contractor
Ellis Builders in Southbury, CT
Ellis Builders is based at 238 Reservoir Rd in Southbury and helps Connecticut property owners, managers, associations, businesses, and project teams plan commercial roof installation, replacement, repairs, drainage, flashing, and connected exterior work.
Explore Connecticut commercial roofing services, review Ellis service areas, or start a commercial roof conversation.
Technical references used in this guide include Connecticut’s State Building Code page, the Connecticut DAS consultant procedure manual, the Town of Clinton’s public roof project specification, the Connecticut Housing Finance Authority’s 2026 capital improvement guide, Carlisle SynTec’s roof inspection guidance, and Johns Manville’s TPO application guide.