Connecticut Asphalt-Shingle Repair Guide
Roof Nail Pops in Connecticut: Why Shingles Lift and What a Proper Repair Should Include
A raised fastener can lift the shingle above it, break the weather seal, or wear a hole through the next course. The right repair begins by finding out why it moved and how much of the roof is affected.
Roof nail pops in Connecticut are raised or backing-out fasteners that can push against the asphalt shingles above them. Homeowners may notice a small bump, a lifted tab, an exposed nail head, a dark spot, a loose shingle, or a recurring ceiling stain. Sometimes the fastener is the water-entry point. Sometimes it is evidence of a larger installation, decking, moisture, or roof-age problem.
A proper inspection should separate a true backing-out fastener from other conditions that can look similar from the ground. A blister, hail mark, cracked shingle, manufacturing feature, ridge-cap fastener, old repair, or fastener intentionally exposed at a manufacturer-approved detail may require a different response. The location and construction of the roof matter.
Do not climb onto a steep, wet, icy, hot, brittle, or unfamiliar roof to press a bump flat. Walking can damage shingles, and a fastener that has moved may be holding a loosened course. Use ground-level photographs when possible, note the weather associated with any leak, and arrange a qualified roof evaluation.
What a Nail Pop Can Mean
The bump is a symptom; the assembly beneath it determines the repair.
Asphalt shingles are installed in overlapping courses. Most field fasteners should be covered by the course above and placed in the nailing zone required for that specific shingle. Correct fasteners are driven straight and seated to hold the shingle without cutting through its surface. The exact number, pattern, material, length, and placement depend on the product, roof slope, deck, local requirements, and installation instructions.
When a fastener backs out, the head can press upward against the overlying shingle. That pressure may break the factory seal between courses, create a raised edge that catches wind, or eventually wear through the shingle above. If water reaches the opening, it can travel along the fastener, shingle, underlayment, decking, or framing before appearing inside.
A visible nail head is not automatically a “nail pop.” Some approved roof details use carefully placed and sealed exposed fasteners. Others should never leave a fastener in the main water path. The inspector should identify the component—field shingle, starter, hip or ridge cap, vent, flashing, old patch, or accessory—and compare it with the applicable instructions.
Why Roof Fasteners Move
Installation, the roof deck, moisture, temperature, wind, and time can work together.
Underdriven or angled fastener
A head left above the shingle can contact the course above immediately. An angled fastener may not seat evenly or anchor as intended.
Wrong location
A high, low, or offset fastener can miss the designed nailing zone, fail to engage the necessary shingle layers, or leave a vulnerable opening.
Insufficient penetration
A fastener that is too short for the assembly or misses sound deck material may not develop the holding strength expected by the product instructions.
Weak or damaged decking
Gaps, deteriorated boards, delaminated sheathing, old holes, or moisture-damaged wood can reduce fastener grip. A new nail does not repair unsound wood.
Deck movement
Wood and sheathing respond to changing heat and moisture. Repeated movement can expose a marginal fastener or installation defect over time.
Wind and unsealed shingles
A lifted course is more exposed to wind. Movement can weaken the seal further and increase the chance of creasing, tearing, or shingle displacement.
The official GAF steep-slope field guide distinguishes underdriven, overdriven, and angled fasteners. It explains that an underdriven fastener can lift the overlying shingle and that an angled fastener may cut the shingle above or lack full anchorage. Owens Corning’s roofing-nail guidance likewise emphasizes the correct nail type, quantity, location, driving method, and product-specific instructions.
Fastener movement should not be diagnosed from temperature alone. The inspection should consider the actual shingle, deck, attic, fastener pattern, roof age, repair history, ventilation, and weather exposure. A repeated line of bumps may point to a course or deck seam; scattered defects may point to installation quality or localized conditions.
Warning Signs
Use the location and pattern to decide how urgently the roof should be checked.
| What you may notice | What it can suggest | What the inspection should confirm |
|---|---|---|
| A small bump beneath a shingle | A raised fastener, debris, wrinkle, or another surface condition | Fastener position, overlying shingle damage, and deck condition |
| A lifted edge that moves in wind | Broken seal, displaced shingle, incorrect fastening, or age-related brittleness | Creasing, tears, seal-strip condition, nailing zone, and repairability |
| A round hole or worn spot in the shingle above | Contact from a raised head or an old exposed-fastener repair | Water path, underlayment, decking, and the full damaged area |
| Several bumps in a line | A repeated course issue, deck seam, board movement, or fastening pattern | Whether the pattern continues beyond the first visible area |
| Rust staining around a head | Exposed or inappropriate fastener, long-term wetting, or failed seal | Fastener material, roof detail, moisture source, and nearby damage |
| Loose or missing shingles after wind | Seal failure, improper fastening, aging, or impact damage | Fastener pull-through, crease lines, adjacent courses, and roof-wide condition |
| Attic stain or wet fastener tip | Possible entry above, condensation, or water traveling from another detail | Weather pattern, insulation, ventilation, decking, and exterior source |
Active water near a light fixture or electrical equipment deserves immediate professional attention and safe power precautions. Protect the room below without entering an unsafe attic or roof. If the moisture pattern is unclear, compare the clues in our roof leak or attic condensation guide.
Inspection Before Repair
Count the defects, trace the water, and assess the roof around them.
A useful inspection does more than locate the first raised head. It records the number and distribution of suspected nail pops; checks the overlying shingles for punctures, cracks, creases, lost seal, and brittleness; identifies the shingle product when possible; and reviews the roof plane for missing, high, low, overdriven, or angled fasteners.
The roof deck matters just as much. Accessible attic areas may reveal split boards, missed sheathing, darkened wood, wet fastener tips, delamination, old holes, or movement at panel edges. The inspector should also look for water that could be arriving from a nearby valley, sidewall, vent, pipe boot, chimney, skylight, ridge, eave, or gutter transition.
Ask for representative photographs and a marked description of the affected roof plane. If a shingle must be lifted or removed to confirm the assembly, the proposal should explain how the opening will be protected and repaired. Destructive investigation should be authorized and documented before it expands.
The U.S. Department of Energy’s Building America asphalt-shingle guide lists high, low, overdriven, underdriven, angled, and inadequate fasteners as improper nailing conditions and calls for pneumatic equipment to be adjusted so nails finish in line with the shingle surface.
Repair Choices
A durable repair restores anchorage and replaces every material that was damaged.
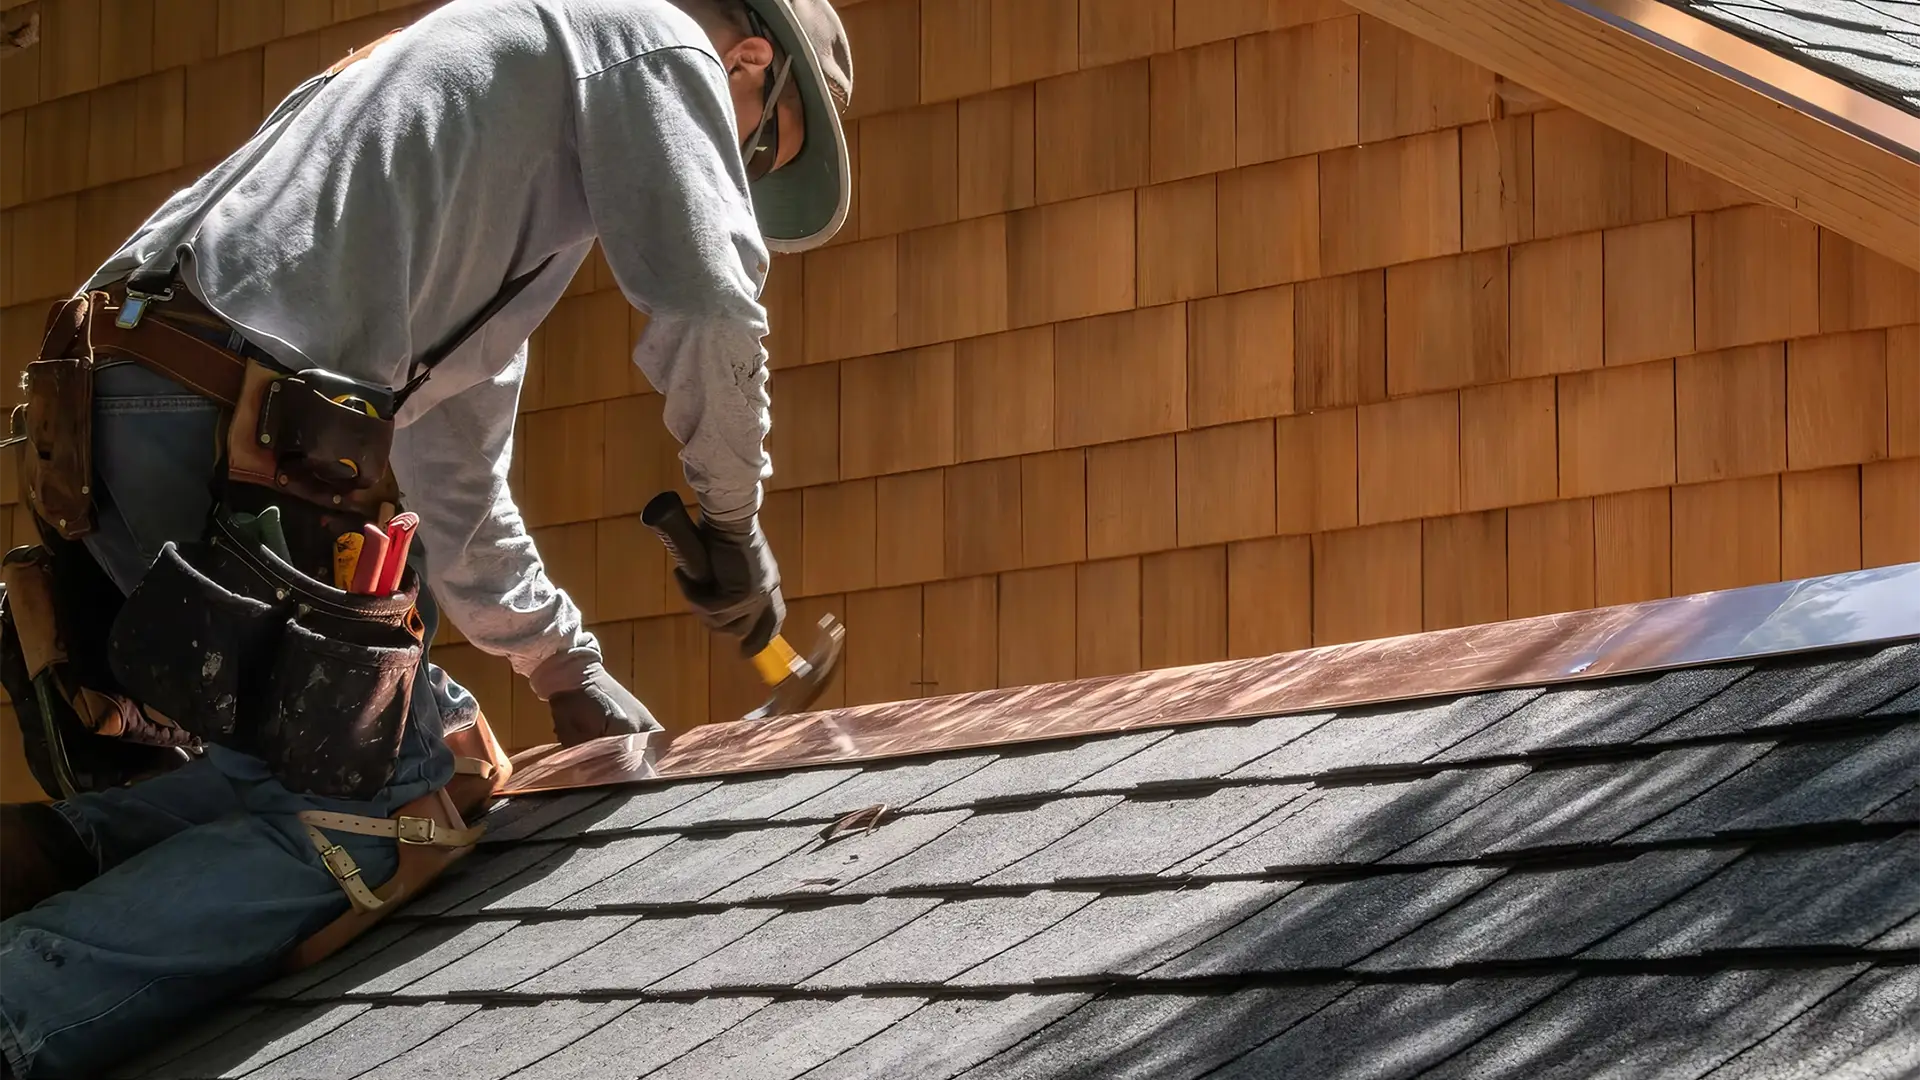
An isolated repair may fit a small number of defects when the surrounding shingles remain flexible and serviceable, the deck provides sound holding material, and the roof is not failing broadly. The repair should not simply hammer the raised fastener back into the same loosened path. The contractor should explain how the old fastener is removed or otherwise addressed, where the replacement fastener is anchored, how the shingle above is repaired or replaced, and how the course is resealed according to the product requirements.
A section or course repair may be more appropriate when nail pops repeat along a line, several shingles are punctured or creased, a deck seam or board area needs correction, or isolated patches would leave too many disturbed tie-ins. The written scope should define the boundaries, underlayment work, decking repair, shingle match, fastening pattern, seal method, and photographs before the area closes.
Broader roof replacement becomes more reasonable when fastener problems are widespread, shingles are brittle or near the end of useful service, many courses have lost seals, the decking has extensive deficiencies, leaks or repairs are recurring, or reliable matching and tie-ins are no longer practical. Nail pops alone do not automatically require a new roof, but they should not be treated as isolated if the evidence shows a system-wide installation or material problem.
When the fastener will not hold because the wood is damaged, review the Connecticut roof decking replacement guide. When a project may affect a manufacturer or workmanship promise, use the roof warranty checklist before authorizing work.
Avoid Surface-Only Patches
Roof cement is not a substitute for sound anchorage and an intact shingle.
A dab of compatible sealant can be one step in a manufacturer-approved repair, but smearing roofing cement over a raised head does not restore holding strength, correct a missed nailing zone, replace a punctured shingle, or repair weak decking. Thick exposed patches can also hide the condition that the next inspector needs to see.
Likewise, driving a moved fastener back into the same hole may provide little holding power. Adding face nails without an approved layout creates new penetrations. Lifting an old or cold shingle can crack it. The complete method should address the fastener, the shingle it was meant to hold, the overlying shingle it may have damaged, the deck, and the seal between courses.
Homeowners should also avoid accepting “all nail pops fixed” without a location count or roof-plane record. Representative before-and-after photographs help show whether the work was isolated, repeated along a course, or extended into a larger repair.
Connecticut Conditions and Requirements
Use product instructions, current state requirements, and local review for the actual project.
Connecticut roofs experience hot sun, cold nights, wind, rain, snow, ice, and repeated freeze-thaw cycles. Those conditions can reveal marginal fastening, weak seals, brittle shingles, and deck movement. They do not change the basic requirement that the selected shingle and fastening method must suit the roof and be installed as approved.
The Town of Coventry’s official asphalt-shingle information sheet provides a clear homeowner reference: the nail head should bear tightly without cutting the shingle, nails belong in the location required by the manufacturer, and crooked nails should be removed and replaced. Your town, the current Connecticut State Building Code resources, the approved project documents, and the selected product instructions control the work at your address.
Permit requirements depend on the town and scope. A minor repair and a roof replacement are not necessarily reviewed the same way. Structural deck correction, a larger reroof, changes to ventilation or insulation, and work involving other exterior components can affect the project. Confirm responsibility before work starts; our Connecticut roof permit guide explains the questions to ask.
For contracts, use Connecticut DCP’s home-improvement contractor guidance to review registration, written scope, dates, payments, permits, cancellation terms, cleanup, and change orders. If wind or impact may be involved, document the conditions before repair and consult the Connecticut post-storm roof checklist.
Homeowner Quote Checklist
Make every damaged layer and repair step visible in the written scope.
- Which roof plane, course, and locations contain suspected nail pops?
- How many defects are included, and is the count isolated, clustered, or roof-wide?
- What evidence shows a raised fastener rather than a blister, impact mark, wrinkle, ridge detail, or old repair?
- Are fasteners underdriven, overdriven, angled, high, low, exposed, short, corroded, or missing sound deck material?
- Which shingle manufacturer, product, nailing zone, and current installation instructions apply?
- What is the roof age, repair history, shingle condition, and remaining serviceability?
- Will the moved fastener be removed, and where will the replacement be anchored?
- How will the old hole be addressed without relying on a surface smear?
- Will the overlying shingle be lifted, resealed, repaired, or replaced?
- How will punctured, cracked, creased, brittle, or unsealed shingles be handled?
- What deck inspection is included, and how will gaps, delamination, rot, missed boards, or movement be corrected?
- Will nearby valleys, walls, vents, pipe boots, chimneys, skylights, ridges, eaves, and gutters be checked for another water source?
- Can replacement shingles be matched, and how will new work tie into the existing courses?
- Will concealed conditions and completed work be photographed?
- What permit or local review applies, and who is responsible?
- What manufacturer and workmanship warranty terms apply after the repair?
- How will additional defects or damaged decking be approved and priced before the scope expands?
- What interior or attic follow-up is included if there has been a leak?
After the Repair
Keep a roof-plane record and watch the next several weather events.
Save the estimate, contract, product information, repair map, photographs, decking documentation, fastener and seal details, permits when applicable, change orders, invoice, and warranty. These records help a future inspector distinguish the completed repair from a new condition.
From the ground, check the repaired area after ordinary rain, wind-driven rain, and seasonal temperature changes. Inside, compare attic or ceiling evidence after the materials have had time to dry. A stain may remain visible after the water source is corrected, so mark its boundary and watch for new moisture instead of relying on color alone.
If another bump appears, record whether it is in the same course, deck seam, roof plane, or a different part of the roof. A recurring pattern may change the recommendation from another isolated repair to a broader investigation.
FAQ
Roof nail-pop questions from Connecticut homeowners.
Can a roof nail pop cause a leak?
Yes. A raised fastener can create an opening, lift the course above, break a shingle seal, or wear through the overlying shingle. Water can then follow the fastener or roof layers before appearing inside.
Should I hammer a popped roof nail back down?
No. Reusing the same loosened hole may not restore holding strength, and walking or lifting shingles can cause more damage. The fastener, damaged shingles, deck, and seal should be evaluated together.
Does one nail pop mean I need a new roof?
Not automatically. An isolated defect on a serviceable roof may support a focused repair. Widespread fastening problems, brittle shingles, broad seal loss, weak decking, or recurring leaks can justify a larger scope.
Why do roof nails back out?
Possible contributors include underdriven or angled installation, insufficient penetration, missed or weakened decking, moisture and temperature movement, wind, damaged shingles, and prior repairs.
Can sealant fix a roof nail pop?
Sealant may be part of an approved repair, but it does not restore anchorage, correct the nailing position, replace punctured shingles, or repair weak decking by itself.
How should a contractor document the repair?
Ask for the affected roof plane and location count, photographs before and after opening, the fastener and shingle method, any deck damage, product information, change orders, and warranty terms.
Next Step
Have the fastener pattern, shingles, deck, attic, and connected roof details reviewed together.
Ellis Builders can inspect the visible roof and accessible interior evidence, document the pattern, and explain whether the condition supports maintenance, an isolated repair, section work, deck correction, or broader roof replacement.
Connecticut Roofing Contractor
Ellis Builders in Southbury, CT
Ellis Builders is based at 238 Reservoir Rd in Southbury and provides roofing, siding, gutter, decking, and exterior work for homeowners across New Haven County, Litchfield County, Fairfield County, and surrounding Connecticut communities.
Explore Connecticut roofing services, visit the Southbury roofing contractor page, review how roof-edge details work together, or request an evaluation.
Planning references used in this guide include Coventry’s official asphalt-shingle information sheet, Owens Corning roofing-nail guidance, the GAF steep-slope field guide, and the U.S. Department of Energy’s Building America asphalt-shingle guide.