
Connecticut Siding Diagnosis Guide
Wavy Vinyl Siding in Connecticut: Heat, Tight Nailing, or Hidden Wall Trouble?
Waves, bulges, ripples, and bowed courses can come from restricted movement, heat, wind, wall conditions, or water-related damage. The pattern—and what sits behind it—determines whether the answer is adjustment, panel replacement, wall repair, or a broader siding project.
Wavy vinyl siding on a Connecticut home is a symptom, not a complete diagnosis. Vinyl is designed to move as temperatures change. A wall may also reveal the shape of framing or sheathing in certain light. But sharp buckles, growing bulges, melted areas, unlocked panels, or distortion around windows and corners can signal a condition that deserves a closer look.
Connecticut gives exterior walls a wide range of conditions: bright summer sun, cold winter mornings, repeated temperature swings, wind-driven rain, snow and ice at rooflines, tree exposure, and renovations completed at different times. A panel that cannot move freely may look acceptable in cool weather and ripple after the sun reaches the wall. A heat-damaged patch may be limited to one reflection zone. A wall problem may remain visible in every season.
The goal is not to name the cause from one ground-level photo. It is to document the pattern, identify the affected layers, and build a written scope that addresses both appearance and performance. This guide helps Connecticut homeowners ask better questions without pulling panels, climbing ladders, or disturbing flashing on their own.
Start With the Profile
Some shadow lines are part of the siding design. Distortion is different.
Horizontal vinyl siding is manufactured in profiles such as clapboard, Dutch lap, beaded, and shingle-style panels. The molded shape creates intentional light and shadow. Long walls can also look less flat when viewed from a sharp angle, especially during low morning or evening light. That does not make every visible line a failure.
Concern rises when the pattern includes abrupt hills and valleys across otherwise straight courses, panels that push against trim, nail hems that appear dimpled, locks that have separated, corners that twist, or areas that change substantially with temperature. Melted or glossy patches, holes, cracks, rattling sections, and siding that repeatedly comes loose are also different from normal profile shadowing.
Do not judge a repair only by whether the surface can be pushed flat for a moment. Vinyl panels are part of an assembly. If a panel is trapped, reinstalling it without restoring clearance can recreate the wave. If the substrate has moved or deteriorated, flattening the finish can conceal rather than correct the cause.
Read the Location and Timing
The pattern often narrows the questions an inspection should answer.
| What you notice | Conditions to investigate | What the scope should clarify |
|---|---|---|
| Ripples across several long courses | Fastener position and tightness, end clearance, panel locks, seams, accessory channels, and whether the wall is reasonably flat. | Which courses must be released or replaced, how movement will be restored, and whether the same condition exists beyond the visible area. |
| Bunching beside a window, door, or corner | Clearance inside receiving channels, trim attachment, flashing, replacement-window work, caulk placement, and localized heat. | How the opening will remain weather-managed while the siding and trim are removed and reset. |
| One melted or glossy patch | Reflected sunlight, nearby low-e glass, grills, fire features, generators, exhausts, lighting, or other concentrated heat. | How the heat source will be controlled before matching panels are installed. |
| Bulge that remains in hot and cold weather | Uneven sheathing, framing movement, trapped material, foam thickness, repairs beneath the siding, moisture damage, or an obstructed drainage plane. | How far the wall must be opened, what evidence will be documented, and who handles concealed repairs. |
| Loose, rattling, or unlocked courses after wind | Panel lock engagement, fastener spacing, nailable base, edge details, impact damage, and product-specific wind requirements. | Whether isolated re-securing is appropriate or a larger elevation has installation or material damage. |
| Waves with staining or interior symptoms | Window and door flashing, roof-to-wall details, penetrations, kickout flashing, gutters, housewrap laps, sheathing, and insulation. | How the water path will be found, corrected, dried, repaired, and verified before the wall is closed. |
Photograph the affected wall from the same safe ground location in the morning, during the warmest part of the day, and after it cools. Record the date, approximate temperature, recent wind or rain, and whether the shape changed. A short time series is more useful than ten photos taken minutes apart.
Include context in the photos: the full elevation, nearby windows, corners, roof intersections, downspouts, decks, vents, utility penetrations, and landscaping. A close-up shows the shape; the wider view can reveal the source.
Real Ellis Exterior Project
Straight finished lines begin with planning behind the visible surface.
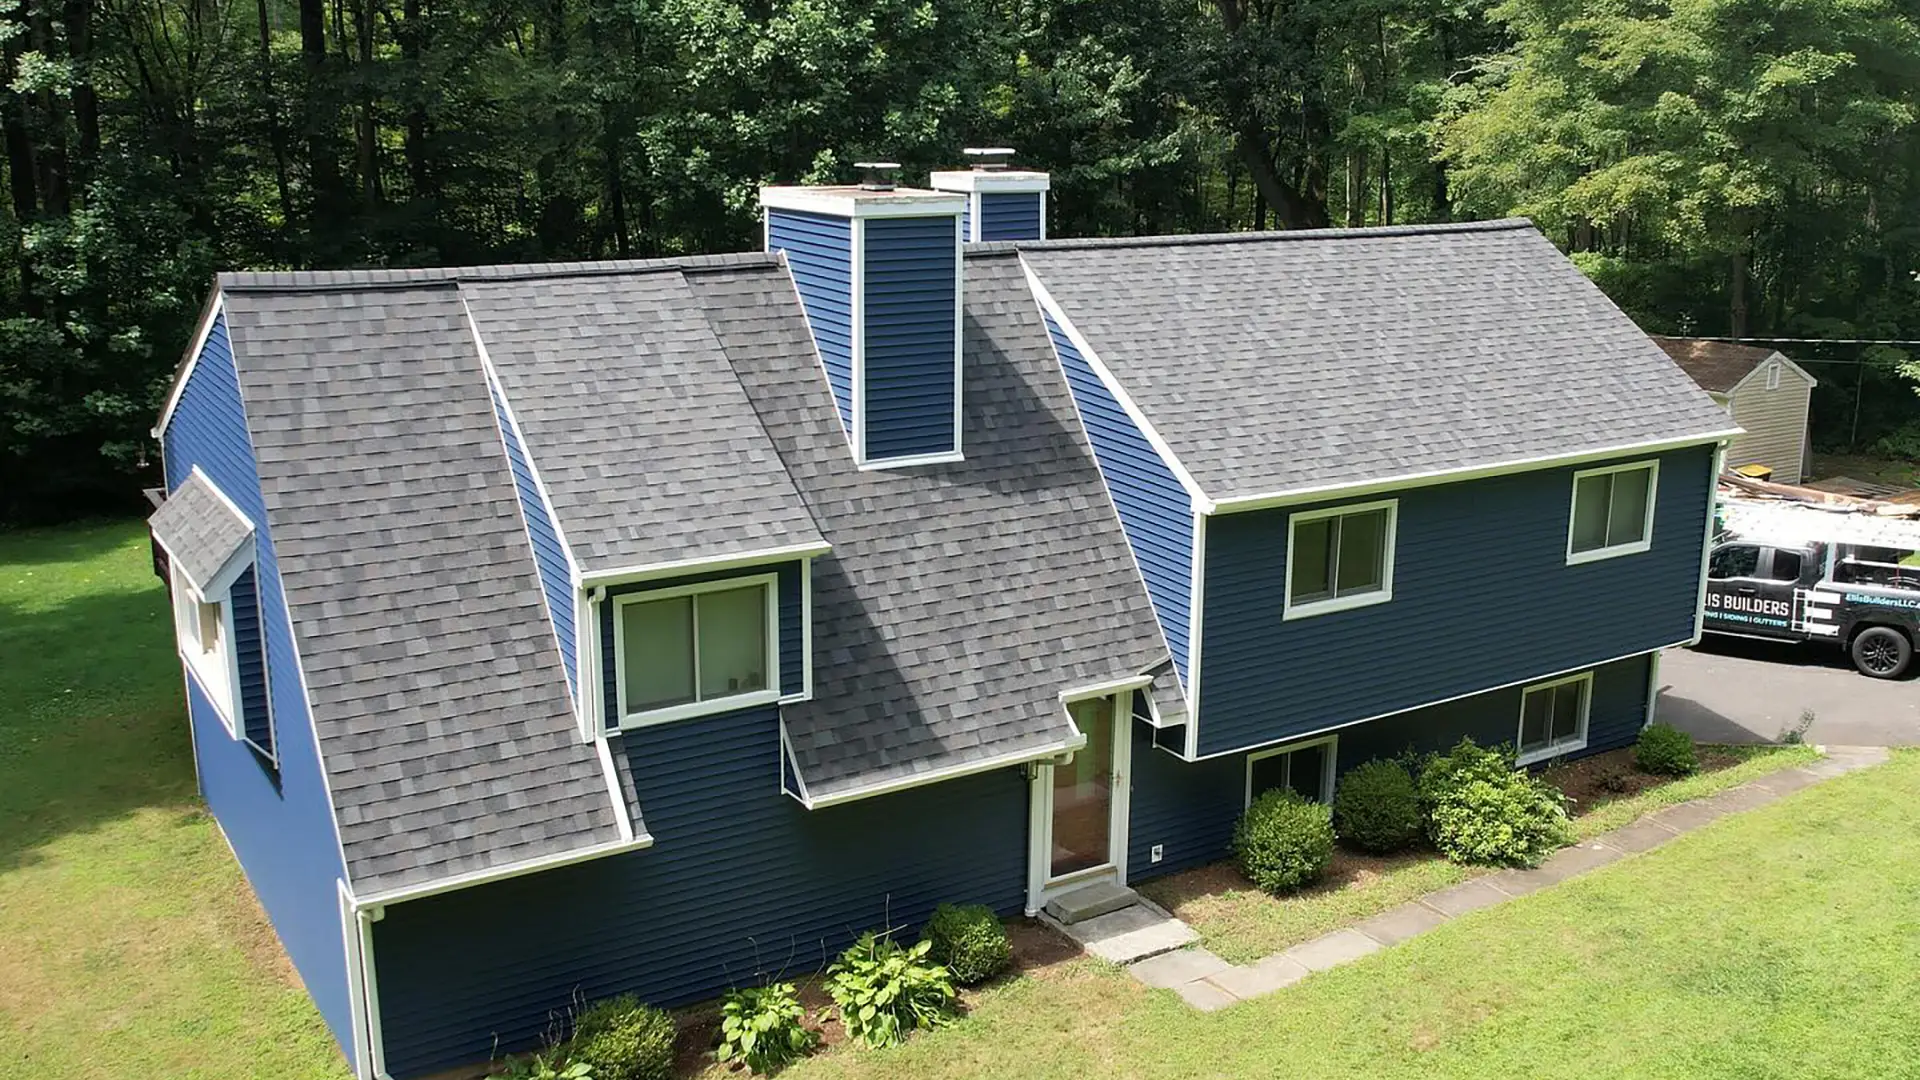
This Ellis Builders project shows a completed blue siding exterior coordinated with windows, trim, roof edges, penetrations, and gutters. The finished color draws attention, but the long-term work happens in the details that allow panels to move and direct water back outside.
A siding proposal should identify the product and profile, approved nailing base, wall preparation, weather-resistive barrier, flashing, trim, clearances, penetrations, and connected roofline work. Review Ellis’s vinyl siding installation guide for Southbury homeowners for a broader quote-planning checklist.
If an existing wall is already wavy, the contractor should distinguish the visible finish from the condition underneath. Replacing a few panels can be responsible when the issue is truly local. It is not a substitute for sheathing, flashing, or water-management work that the inspection shows is necessary.
Vinyl Is Designed to Move
Tight nailing and missing clearance can turn normal expansion into visible buckling.
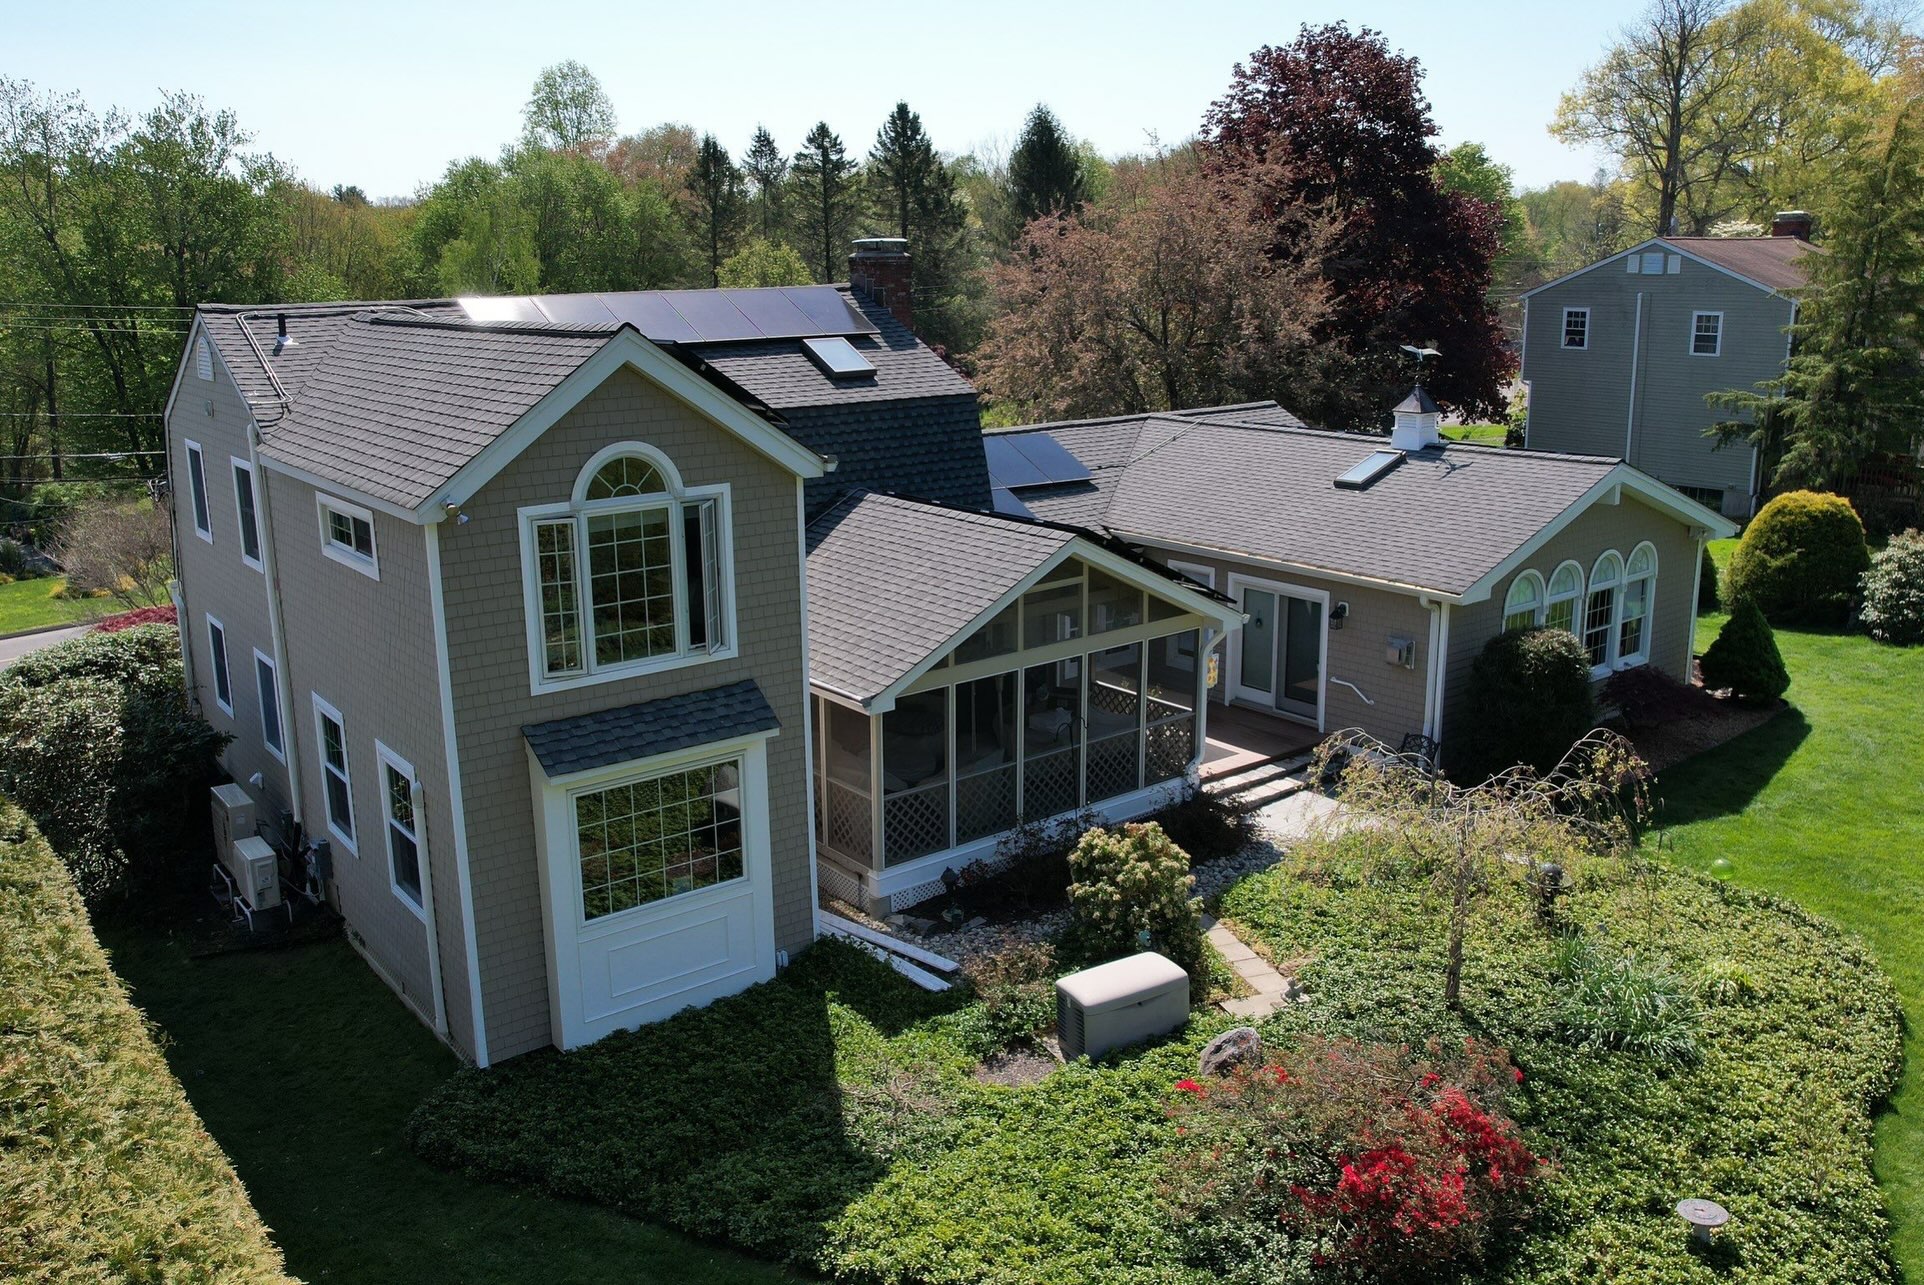
Vinyl siding changes length as its temperature changes. That is why the panels include slotted nail hems and why accessories create receiving channels at corners, windows, doors, and rooflines. The siding is generally hung so it can move; it is not clamped tightly to the wall.
The Polymeric Exterior Products Association’s installation guidance explains that fasteners should be centered in the slots and should not be driven tight against the nail hem. It also describes clearance between panels and channels so the material can expand and contract. CertainTeed similarly tells installers to leave room at receiving channels and avoid tight nailing. The exact requirements must come from the manufacturer of the installed product, its current instructions, the wall assembly, and the project conditions.
Fasteners
Off-center, angled, overdriven, or face-driven fasteners can restrict horizontal movement or distort the panel. A proper inspection checks more than one convenient nail.
End clearance
Panels need product-appropriate room where they enter corner posts, J-channels, and other accessories. A long panel trapped between two hard stops can bow as it warms.
Panel locks
Courses should engage without being pulled unnaturally tight. A partially locked, overstretched, or damaged course may ripple, sag, or release in wind.
Nailable base
Fasteners need suitable backing. Soft, missing, uneven, or poorly planned sheathing or furring can create inconsistent support and attachment.
These details are not an invitation to pull on panels or loosen fasteners at random. Removing vinyl can damage brittle material, release a poorly secured course, disturb window or roof flashing, expose electrical or utility components, or make a weather-tight condition worse. The repair should be performed by someone who can identify the product, open the correct area, preserve drainage details, and replace what cannot be safely reused.
A temperature-related wave may change during the day, but repeated movement can still fatigue locks, deform the panel, or open joints. “It lays flat at night” does not prove the installation is acceptable.
Concentrated Heat Has a Different Signature
Distorted vinyl may have been softened, not simply trapped.
Heat distortion often appears as a concentrated area rather than a long, evenly repeated ripple. The vinyl may look melted, glossy, pinched, stretched, or permanently sagged. Common questions include whether sunlight reflects from nearby glazing, whether a grill or fire feature is too close, whether mechanical equipment or an exhaust releases heat toward the wall, or whether an unusual lighting or landscaping condition concentrates energy.
Reflected sunlight can be especially confusing because the source may be on a neighboring elevation or nearby property, and the affected patch may receive the reflection only during a particular season and time of day. Photograph the wall and the suspected reflection path without staring into bright light. Note the time and date. Do not assume that replacing the melted panels will solve the problem if the same concentrated heat remains.
Paint can also change how vinyl responds to heat. A darker coating may absorb more solar energy than the original color. If vinyl has been painted, identify the original product, the coating system, color, preparation, application history, and manufacturer guidance before deciding whether repainting or panel replacement is appropriate. Generic exterior paint and a visually similar color are not enough information.
Look Beyond the Panel
A straight siding course cannot compensate for an unsound or uneven wall.
Vinyl siding can reveal wall conditions because it follows the surface and support behind it. Sheathing joints, bowed framing, inconsistent furring, thick repairs, compressed foam, trapped debris, or an uneven transition between old and new work can telegraph through the finished surface. Some variation may be visible only in raking light; a pronounced or changing bulge deserves closer evaluation.
Ask whether the waviness began after replacement windows, an addition, insulation work, a deck connection, roof work, an exterior electrical upgrade, or a partial siding repair. The timing may point to a disturbed flashing detail, new substrate thickness, a panel cut too tightly around a changed opening, or a mismatch between old and new materials.
Concealed moisture damage can also change the support behind siding. Warning signs include soft trim, recurring staining, a musty interior area, peeling paint around an opening, swollen sheathing, insect activity, loose fixtures, or a wall that feels different from adjacent areas. None of these proves one specific failure. Together they justify a scope that allows controlled opening and documentation rather than a cosmetic-only promise.
Connected Exterior Details
Open the wall with a plan for flashing, drainage, and restoration.
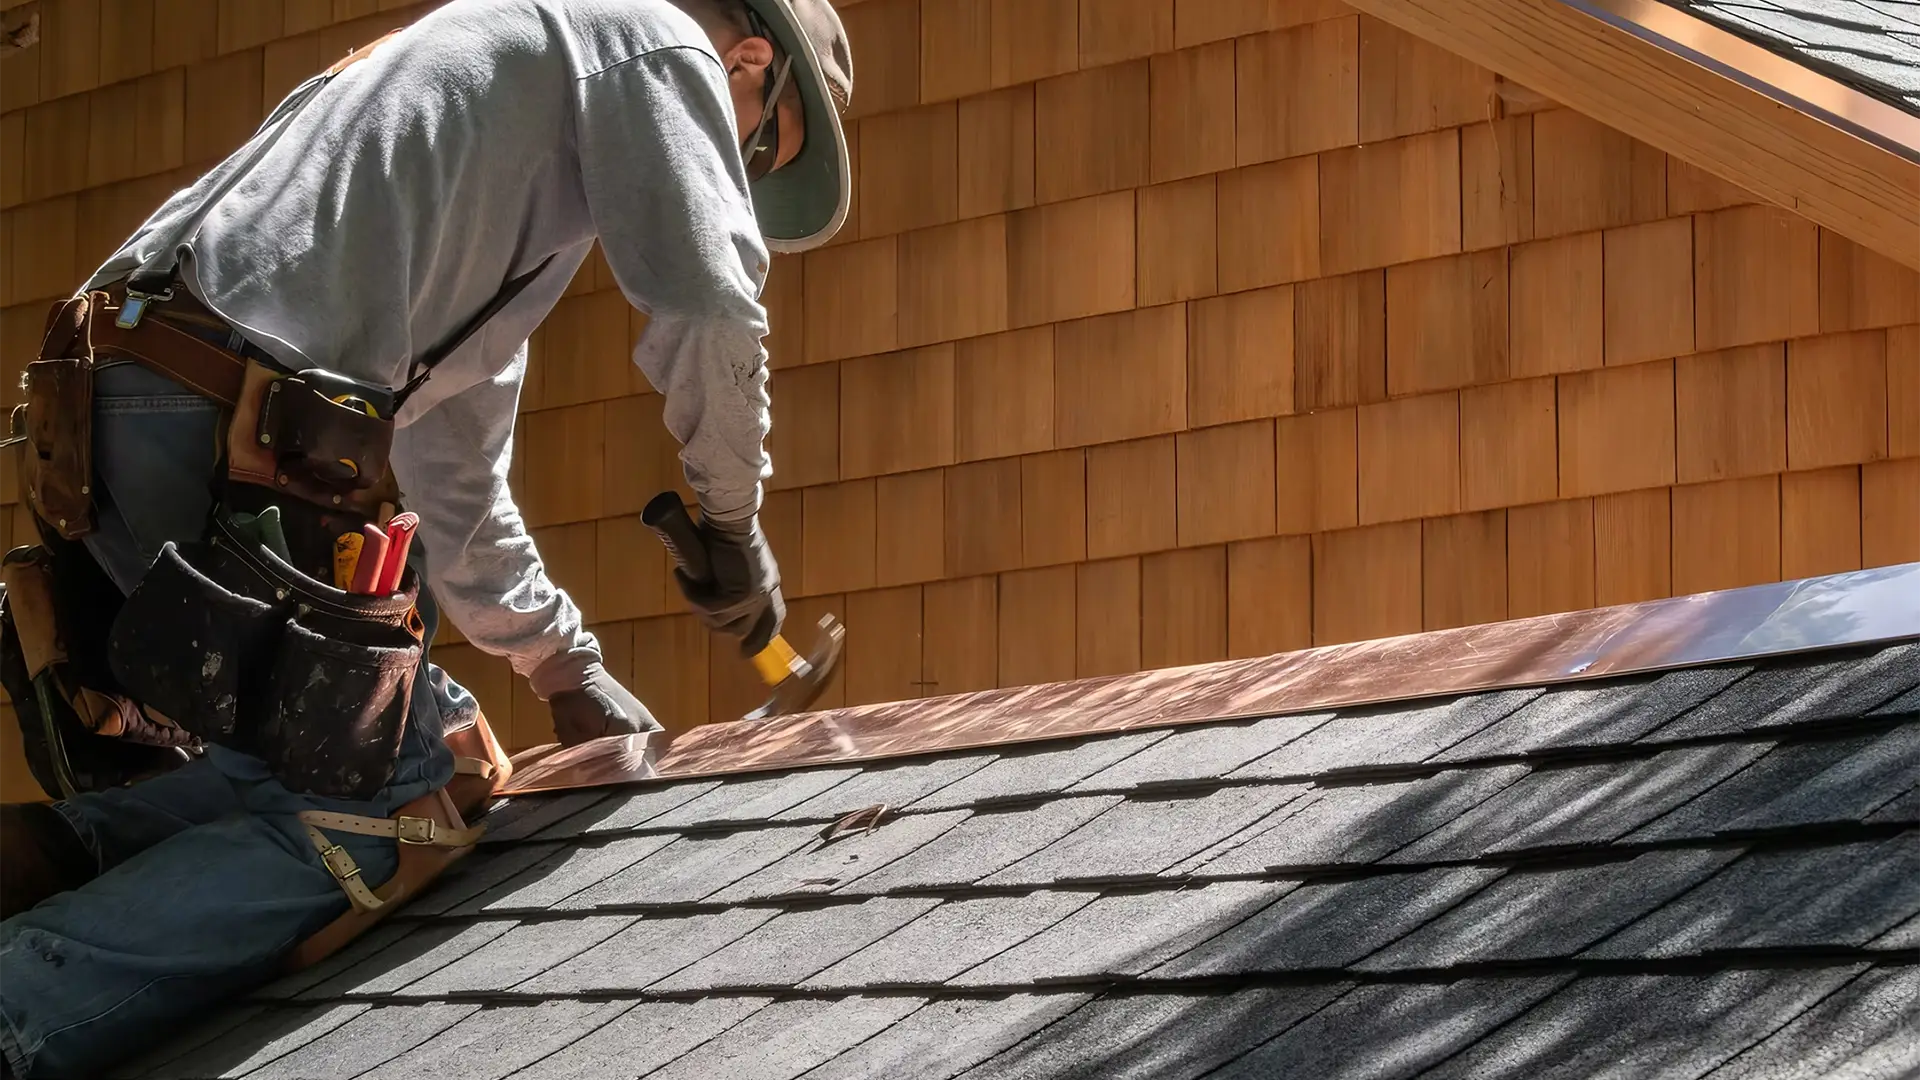
This Ellis project image shows why a siding repair near a roof should not be treated as panel work alone. Step flashing, kickout flashing, roof covering, housewrap, trim, and siding must overlap in a sequence that sends water outside.
If distortion is concentrated where a roof terminates against a wall, review Ellis’s Connecticut kickout flashing guide. If the wider project includes roofing, siding, gutters, or decks, the Connecticut home exterior remodeling guide can help coordinate the order of work.
A controlled investigation should state what will be removed, how the exposed opening will be protected, which photos or measurements will be provided, how additional damage will be priced, and which materials will restore the assembly.
Siding Sheds Water; the Wall Still Needs Drainage
Flashing and the weather-resistive barrier matter even when the wave looks cosmetic.
Vinyl siding is not intended to make every joint watertight with surface caulk. Wind-driven rain can reach behind the panels, so the wall depends on a continuous water-resistive layer and properly integrated flashing to drain that water back outside. The U.S. Department of Energy’s Building America guidance illustrates this relationship by placing the weather-resistant barrier and window flashing behind the siding while preserving movement clearances.
That is why a contractor should be careful when waves appear around windows, doors, hose bibs, lights, meters, vents, decks, roof-wall intersections, or gutter discharge areas. Adding caulk across weep paths or sealing the bottom of a siding course can trap water. Replacing the visible panel without reviewing flashing may leave the actual leak untouched.
Gutters and roof runoff can contribute to wall problems when water spills behind a gutter, discharges against siding, or concentrates at a roof-to-wall end. Visit Ellis’s Connecticut gutter installation page for the roofline and drainage side of the exterior. The siding repair quote should identify who handles connected fascia, soffit, gutter, roof, or trim work when those components affect the wall.
Interior symptoms change the urgency. Active dripping, wet drywall, electrical concerns, visible mold-like growth, rapidly spreading staining, or soft finishes call for prompt assessment by the right professionals. Limit disturbance of suspect materials, especially in older homes where paint, insulation, sheathing, or cladding layers may require testing or special handling.
A Useful Siding Evaluation
The inspection should turn a visual complaint into a documented scope.
Begin from safe ground and inside accessible rooms. Note which elevation is affected, the compass direction if known, when the wall receives sun, whether the shape changes with temperature, and whether there are related drafts, stains, odors, or finish damage. Keep children and pets away from loose panels or work areas.
Map the affected area
Mark the courses, corners, openings, and nearby heat or water sources. Photograph the whole wall and close details.
Identify the assembly
Record the product if known, approximate age, profile, color, prior paint, additions, windows, repairs, and insulation work.
Compare conditions
Check the same wall at different temperatures and compare it with shaded or unaffected elevations. Note wind and rain events.
Plan controlled access
Specify where panels or trim will be opened, how flashing and housewrap will be protected, and what happens if damage extends farther.
Confirm the cause
Separate restricted movement, heat damage, wind or impact, material aging, substrate shape, and water-related deterioration.
Close the loop
Document repairs before concealment, restore all layers, test or observe relevant water paths, and retain product and warranty records.
A thermal camera or moisture meter can support an investigation, but neither should be treated as a stand-alone verdict. Surface temperature, sun, indoor conditions, material properties, recent weather, and operator technique affect readings. Findings should be matched to physical conditions and the wall’s construction.
If panels are brittle, discontinued, painted, unusually faded, or interlocked with trim that cannot be reused, ask about the risk that exploratory removal will enlarge the repair area. A responsible proposal addresses that possibility before work begins.
Match the Repair to the Cause
Adjustment, replacement, wall repair, and full recladding solve different problems.
| Repair path | When it may fit | What must be resolved first |
|---|---|---|
| Release and properly reset reusable panels | Panels are undamaged and compatible, and the issue is limited to accessible fastening, lock, or clearance conditions. | The cause is confirmed; flashing and accessories remain serviceable; removal will not damage brittle material. |
| Replace a localized group of panels or accessories | Heat, impact, or deformation is confined and a compatible product can be sourced. | The heat or impact source is controlled, the substrate is sound, and color/profile expectations are documented. |
| Open and repair the wall assembly | Sheathing, framing, weather barrier, flashing, insulation, or a penetration is contributing to the visible condition. | The contract defines temporary protection, concealed-damage pricing, qualified trades, inspection needs, and restoration layers. |
| Correct one full elevation | The same installation or substrate condition repeats across a wall, while other elevations remain serviceable. | Transitions at corners, rooflines, utilities, and adjacent walls are detailed; the finished appearance is acceptable. |
| Replace the siding system | Distortion, brittleness, fading, discontinued material, water-management defects, or repairs are widespread. | Wall preparation, product selection, flashing, insulation, trim, gutters, permits, warranties, and disposal are fully scoped. |
Panel matching deserves its own conversation. Vinyl can change color with age and exposure, and nominally similar profiles may not lock together. A repair piece stored in a garage may match better than a current product, but it still needs to be identified and evaluated. Ask the contractor to state whether the match is expected to be exact, close, or visibly different.
If a broader replacement is being considered, compare the wall system rather than only the finish color. Vinyl, insulated vinyl, fiber cement, and other claddings have different installation, maintenance, weight, movement, and repair characteristics. Ellis’s James Hardie siding guide for Connecticut explains one alternative, while the siding repair-versus-replacement guide helps frame the larger budget decision.
Written Scope Checklist
A strong quote explains what will be opened, corrected, restored, and documented.
Connecticut home-improvement work should be covered by a written agreement that meets applicable requirements. Review the contractor’s active registration, insurance, business identity, references, scope, payment schedule, change-order process, start and completion expectations, cleanup, permits, and warranty terms. Connecticut’s Department of Consumer Protection provides homeowner guidance for working with home-improvement contractors.
A proposal that says only “fix wavy siding” leaves too much unresolved. A useful scope connects the symptom to a repeatable repair method and explains what will happen if the opened wall does not match the initial assumption.
Frequently Asked Questions
Wavy vinyl siding questions Connecticut homeowners ask
Is some waviness in vinyl siding normal?
Product profiles and raking light can create visible shadow lines, and minor substrate variation can sometimes show through. Sharp, changing, melted, loose, or localized distortion should be evaluated rather than dismissed as normal.
Why does my siding look wavier on hot afternoons?
Vinyl expands as it heats. Panels that are tightly fastened, trapped at trim, incorrectly locked, or otherwise restricted can buckle more visibly when warm. Concentrated heat can also permanently deform the material.
Can a few tight nails simply be loosened?
Sometimes a limited fastening issue can be corrected, but random adjustment is not a diagnosis. The contractor should inspect clearances, locks, accessories, flashing, substrate, and panel condition before deciding what can be reused.
Does wavy siding mean there is water damage behind it?
Not necessarily. Restricted movement and heat are common possibilities. Water-related sheathing or wall damage is one of several conditions to investigate when there are stains, softness, openings, interior symptoms, or failed flashing.
Can reflected sunlight melt vinyl siding?
Concentrated reflected energy can distort a localized area under the right conditions. Document the timing and reflection path and control the source before replacing affected panels.
Can old vinyl siding be matched for a spot repair?
Sometimes, but the original product may be discontinued and existing siding may have faded. The quote should set realistic expectations for profile, lock, texture, and color compatibility.
When does wavy siding justify full replacement?
Full replacement becomes more reasonable when distortion, brittleness, mismatch, installation defects, or concealed wall problems are widespread, or when localized work cannot be completed reliably.
Who should inspect siding distortion near a roof or window?
Use a qualified exterior contractor who can evaluate siding together with flashing, weather-resistive barriers, roof or window transitions, and any concealed wood repair. Other licensed trades may be needed for utilities, electrical, HVAC, or structural conditions.
Plan the Wall, Not Just the Panel
Get a Connecticut siding scope built around the cause.
Ellis Builders can evaluate wavy, buckled, loose, damaged, or aging siding as part of the home’s connected exterior. The goal is a clear repair or replacement plan for the finish, wall layers, openings, rooflines, gutters, and trim that actually affect the result.
Connecticut Siding Contractor
Ellis Builders in Southbury, CT
Ellis Builders is based at 238 Reservoir Rd in Southbury and provides siding, roofing, gutter, decking, and connected exterior remodeling services for homeowners across New Haven County, Litchfield County, Fairfield County, and surrounding Connecticut communities.
Explore Connecticut siding services, review the Southbury vinyl siding installation guide, or request an exterior evaluation.
Technical and consumer-planning references used in this guide include the Polymeric Exterior Products Association’s vinyl siding fastening guidance, CertainTeed’s vinyl siding installation guidance, the U.S. Department of Energy Building America wall and siding resource, and Connecticut DCP’s home-improvement contractor guidance. Product-specific instructions and the approved project scope control the actual work.