
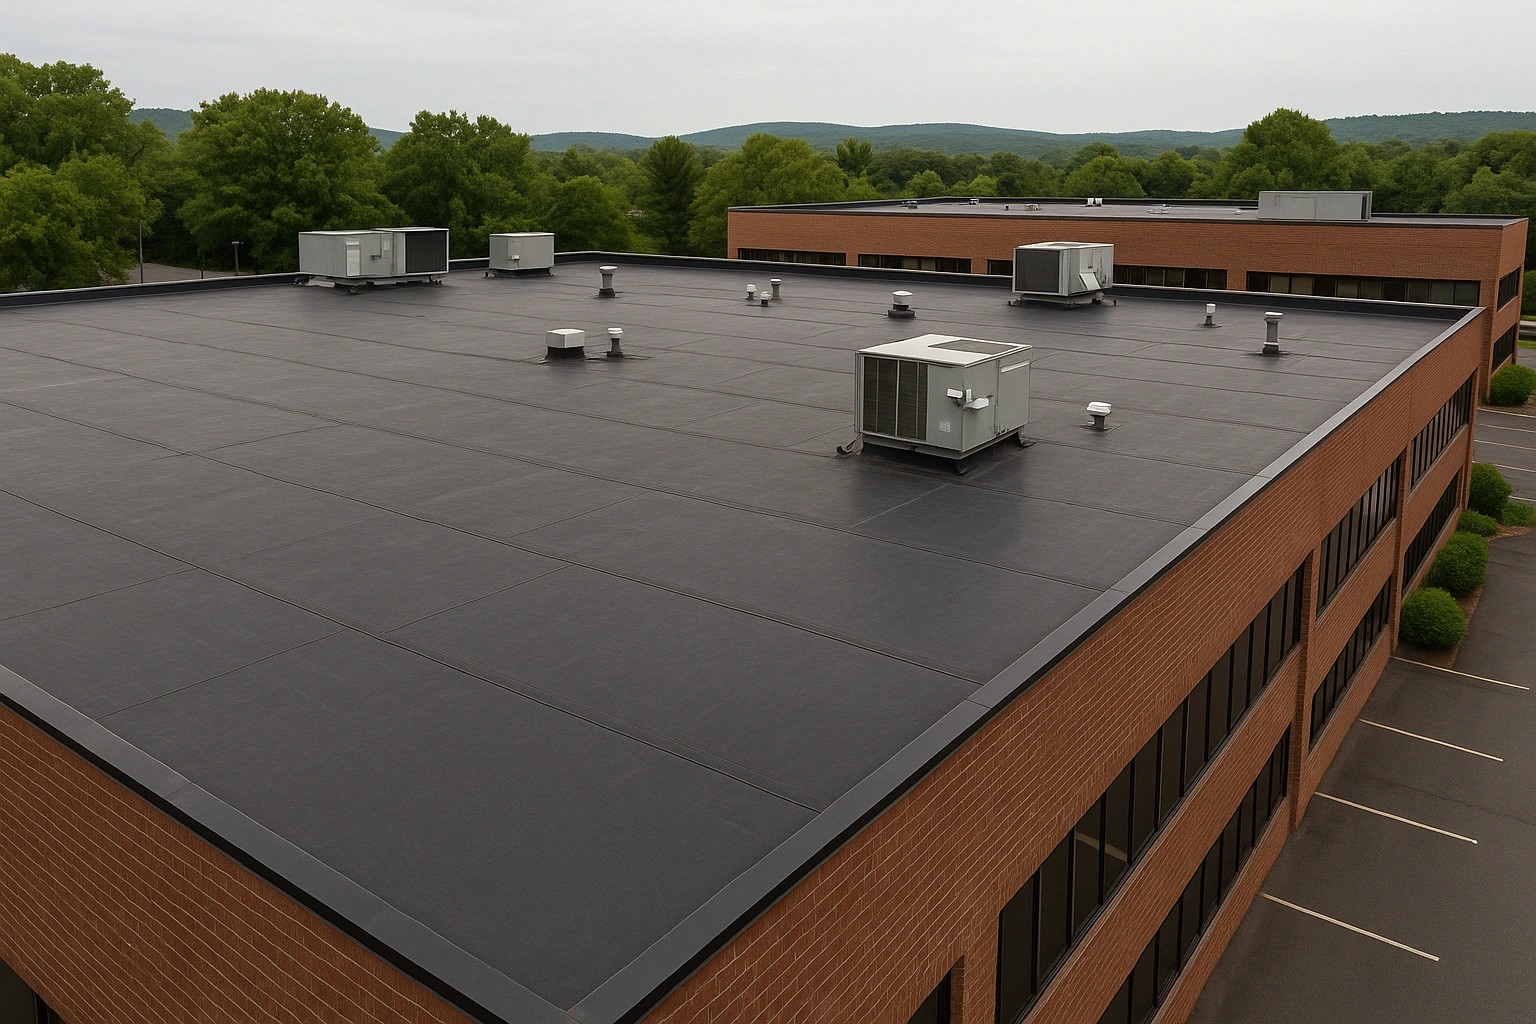
Connecticut Commercial Roof Leak Diagnosis
Commercial Roof Parapet Leaks in Connecticut: Coping, Wall, or Membrane?
A stain near an exterior wall does not prove the roof membrane directly above it has failed. Water may enter through coping, masonry, metal joints, wall flashing, scuppers, or a membrane transition and travel before it becomes visible indoors.
Commercial roof parapet leaks in Connecticut are building-envelope problems, not automatically membrane problems. The roof surface, vertical flashing, wall assembly, coping, exterior facade, sealants, metalwork, drainage, structure, and interior finishes meet at the perimeter. A defect in one layer can send water behind another, so repeated patches at the visible stain may never address the entry point.
This is especially important on older masonry buildings, retail strips, schools, medical offices, warehouses, condominiums, and mixed-use properties with parapet walls above a low-slope roof. Wind-driven rain can wet the face and top of the wall. Freeze-thaw cycles can enlarge cracks or failed joints. Loose coping can admit water from above. A clogged scupper can hold water against a base flashing. Membrane shrinkage or building movement can strain a transition. The same interior symptom can have several different causes.
The right first step is a disciplined investigation. This guide helps owners and property managers recognize the components, preserve useful evidence, compare repair scopes, and avoid paying for an isolated patch when the water path crosses roofing, sheet metal, masonry, drainage, or another trade.
Why Perimeter Leaks Keep Returning
The place where water appears is often the end of the route.
Water can enter at the top of a parapet and move within the wall, along metal, across deck flutes, through insulation joints, around blocking, or above a ceiling before gravity brings it into view. A stain several feet from the exterior wall may still begin at the perimeter. Conversely, a stain beside a wall may begin at an HVAC curb, penetration, drain, or roof defect farther upslope. Interior location alone is evidence, but it is not a diagnosis.
Wind-driven rain
Leaks that appear during rain from one direction may point toward coping joints, wall cracks, open laps, facade transitions, window or louver openings, or details exposed on that side of the building. Record wind direction rather than reporting only that “the roof leaked.”
Freeze and thaw
A leak during a thaw may involve snow or ice blocking drainage, water held behind a detail, a frozen leader, or moisture entering a wall assembly during repeated cold-weather cycles. Photograph conditions from safe areas before they disappear.
Movement
Roof decks, walls, membranes, metal caps, and structural joints do not always move together. Wrinkled flashing, open coping splices, split sealant, displaced metal, or recurring failure at the same transition can indicate movement that a surface smear will not resolve.
Water held at the edge
Debris, undersized or damaged outlets, displaced strainers, sagging gutters, frozen leaders, or poor slope can keep water against the wall longer than intended. The repair may require drainage work as well as waterproofing.
Later attachments
Signs, antennas, conduit, rails, ladders, screens, cameras, lighting, and other additions are sometimes attached to coping or parapets after the original roof is complete. Each fastener and support needs a compatible, maintained water-control detail.
Layered repairs
Old coatings, mastics, caulk, cover plates, patches, and replacement metal can hide the original assembly. Before another material is added, identify what remains underneath and whether the layers are compatible and sound.
Johns Manville’s commercial reroofing evaluation guide specifically directs inspectors to examine coping attachment and joints, parapet staining and cracks, base-flashing deterioration, movement, and later attachments. Its current preventive maintenance checklist also treats walls, roof-edge coping, fascia, flashings, and drainage as connected inspection areas. Those manufacturer materials support a whole-edge investigation rather than a single-point patch.
Know the Assembly
Ask the inspection report to name the component, not just “the roof.”
| Component | What it does | Evidence worth documenting |
|---|---|---|
| Coping or cap | Covers the top of the parapet and sheds water away from the wall assembly. | Loose sections, displaced metal or stone, open splices, failed end conditions, corrosion, punctures, missing pieces, sealant history, and staining below joints. |
| Parapet wall and facade | Forms the vertical perimeter and may include masonry, concrete, wood framing, sheathing, panels, stucco, EIFS, or another wall system. | Cracks, open mortar, spalling, displaced units, soft or swollen sheathing, staining, failed cladding joints, openings, and water paths from above. |
| Roof-to-wall or base flashing | Turns the roof waterproofing up the vertical surface and connects the field membrane to the wall. | Open seams, wrinkles, bridging, shrinkage, blisters, low height, missing attachment, failed terminations, incompatible patches, and stress at corners. |
| Counterflashing or termination | Protects and secures the upper edge of the base flashing where the roof meets the wall. | Open top edges, loose bars or metal, failed sealant, missing fasteners, reverse laps, corrosion, and water entering behind the termination. |
| Blocking and substrate | Supports coping, edge metal, membrane attachment, and transitions. | Rot, corrosion, loose fasteners, movement, compressible or missing material, and whether the visible metal remains securely anchored. |
| Scuppers, gutters, and leaders | Move water through or over the parapet and away from the building. | Debris, ice, staining, overflow marks, open seams, loose collection boxes, inadequate discharge, membrane failure at the opening, and water retained against the wall. |
| Roof membrane and insulation | Provide the primary roof waterproofing and thermal layer. | Punctures, open seams, surface wear, ponding, wet or compressed insulation, failed patches, movement, and whether the affected area extends beyond the wall line. |
| Interior route | Shows how water finally reaches occupied space. | Fresh staining, wet ceiling tiles, wall finish damage, corrosion, damp insulation, deck condition, odor, electrical exposure, and the relationship to roof and wall features. |
GAF’s commercial roof-to-wall flashing guidance describes parapet transitions as vulnerable water-entry locations, while its commercial coping information treats the cap as a water-shedding and wind-resisting roof-edge system. The written report should therefore distinguish coping, wall, flashing, membrane, and drainage findings instead of labeling every condition “roof damage.”
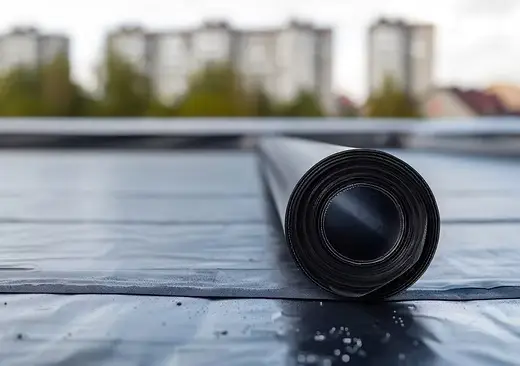
Read the Pattern Before the Patch
Weather timing and leak location can narrow the investigation.
| Observed pattern | Questions to investigate |
|---|---|
| Leak only during wind-driven rain | Which wall faced the wind? Are coping splices, wall joints, cladding transitions, louvers, or perimeter flashings open on that elevation? Does controlled testing reproduce the symptom? |
| Leak after long steady rain | Does water accumulate at the wall or scupper? Are insulation and wall materials absorbing water before the interior becomes wet? Is the apparent delay consistent from storm to storm? |
| Leak during thaw without new rain | Where was snow or ice retained? Were drains, scuppers, gutters, or leaders frozen? Could meltwater back up above a flashing or enter a damaged wall joint? |
| Leak soon after HVAC, sign, telecom, solar, or facade work | Who accessed the area, what was attached or moved, where were materials staged, and are new fasteners, penetrations, service paths, or altered flashings visible? |
| Stain follows the exterior wall | Is the wall wet above the roof line? Are coping joints aligned with the stain? Is water entering the wall cavity behind otherwise intact roof flashing? |
| Stain appears away from the wall | Can water travel across deck flutes, structural members, insulation, conduit, or ceiling framing? Are there roof penetrations, seams, or drains along that route? |
| Patch works briefly, then leak returns | Did the patch address the tested entry point, or only cover the visible roof surface? Did movement, trapped moisture, incompatibility, or another untreated layer cause recurrence? |
| Leak occurs near a scupper or collection box | Is the opening clear and sound? Does water reach it promptly? Are corners, welds, flanges, membrane tie-ins, exterior boxes, gutters, and leaders intact and sized for the design? |
Create a simple leak log for each event. Record date and time, rainfall start and intensity if known, wind direction, temperature, snow or ice conditions, interior location, ceiling and wall photographs, active dripping versus staining, affected contents, and any rooftop work since the prior event. Mark the interior location on a floor plan and the likely roof location on a roof plan without assuming they are identical.
When safe access is not available, do not send untrained staff onto a wet, icy, snow-covered, unprotected, or unfamiliar roof. Ground photographs, interior evidence, maintenance records, and a qualified inspection are more useful than creating a fall hazard. Keep people away from wet electrical fixtures, sagging ceilings, or areas with falling-material risk, and use the building’s emergency procedures when conditions are unsafe.
A Disciplined Investigation
Move from broad evidence to the least destructive reliable confirmation.
Protect the interior
Control access, protect contents, address electrical or ceiling hazards, collect water where appropriate, and document the active condition before finishes are removed or replaced.
Review the history
Gather leak logs, prior repairs, warranties, roof plans, facade work, tenant reports, equipment changes, inspection records, and photographs. A repeating weather pattern can be more valuable than a dry-day walk.
Map both sides
Relate the interior symptom to the roof, wall elevation, coping joints, scuppers, penetrations, deck direction, ceiling space, and possible travel paths. Use measured landmarks rather than visual guesses.
Inspect connected components
Review coping, parapet faces, base flashing, terminations, membrane, corners, drainage, attachments, rooftop equipment, and nearby higher walls. Photograph conditions with locations and scale.
Test the leading theory
Where appropriate, a qualified team may use controlled water testing, selective openings, moisture investigation, probes, adhesion checks, or other methods suited to the assembly. Testing should isolate one area at a time and avoid creating new damage.
Define the repair boundary
Identify what must be removed, what can remain, how wet or damaged materials will be located, how transitions will be rebuilt, which trade owns each component, and how the completed work will be verified.
Do not let investigation become an uncontrolled flood test. Water introduced at the wrong rate, in the wrong sequence, or without interior observation can create damage without proving the source. The person directing a test should understand the roof and wall assembly, choose a safe method, define stop conditions, and coordinate occupants below.
If the roof may contain wet insulation, surface appearance is not enough to set removal limits. Ellis’s wet commercial roof insulation guide explains how owners can connect moisture evidence, openings, repair quantities, and the repair-versus-replacement decision. For broader roof-system context, use the Connecticut commercial roof repair guide.
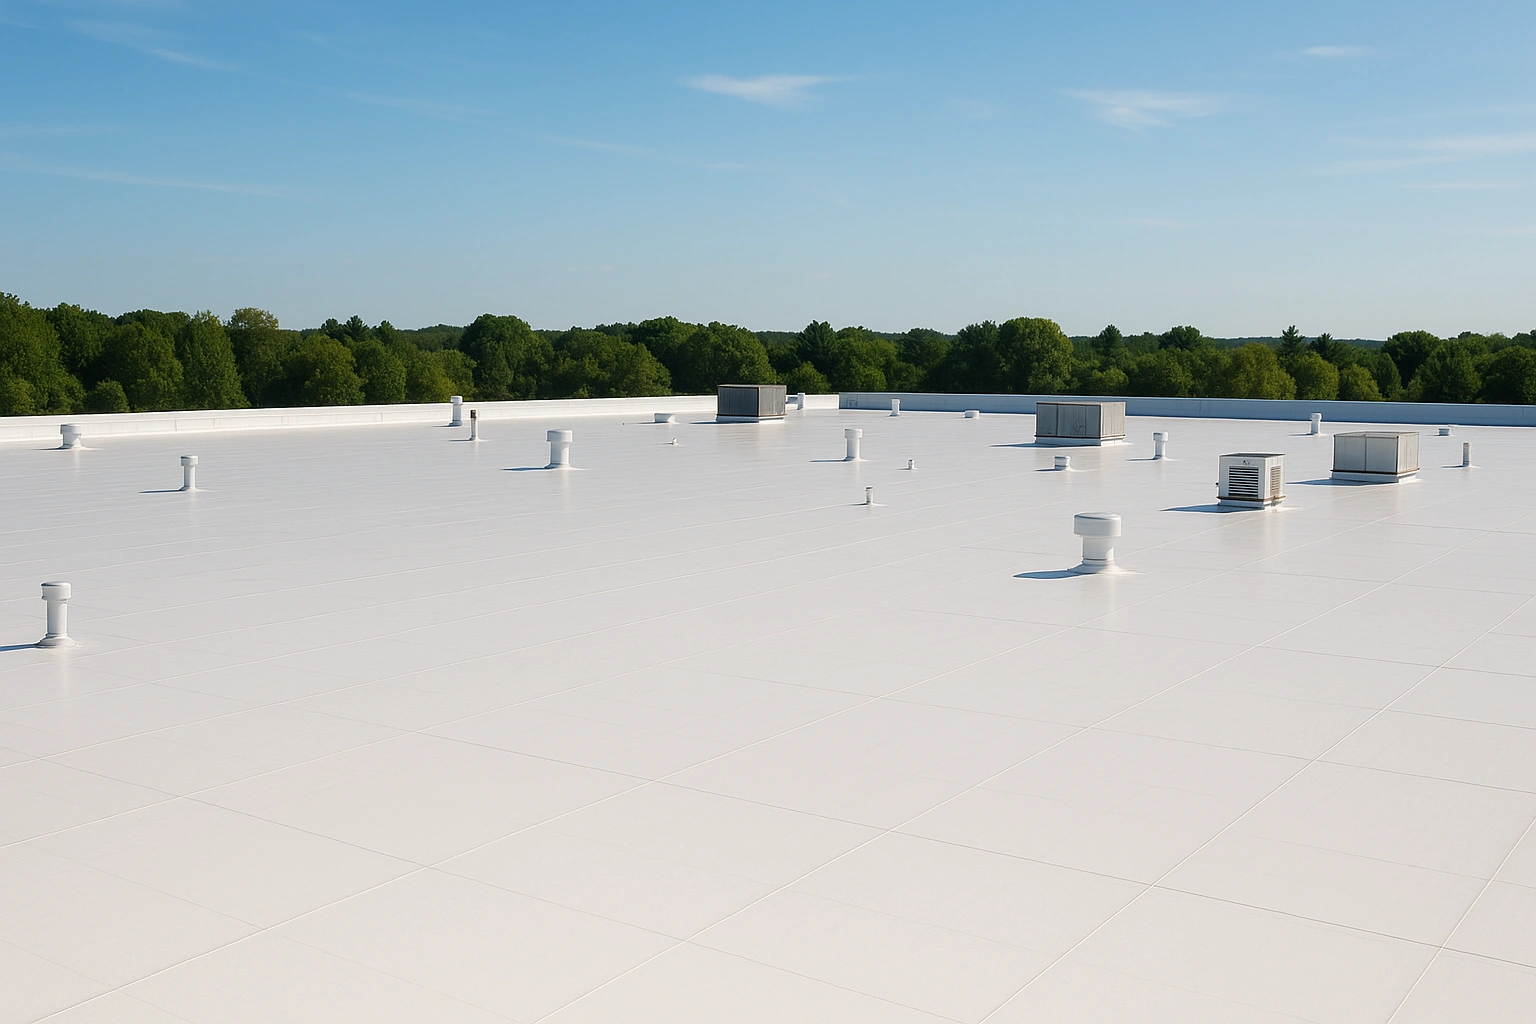
Choose a Scope That Matches the Water Path
The correct repair may involve one trade—or a coordinated sequence.
A sound repair starts at the confirmed or strongly supported entry point and follows damaged materials far enough to restore continuity. That may mean resetting or replacing coping, rebuilding blocking, repairing masonry, replacing base flashing, opening and drying a wall section, correcting a scupper, removing wet insulation, or rebuilding a membrane transition. The project should not be divided by trade boundaries in a way that leaves an unassigned gap between “roof,” “metal,” and “wall.”
Localized compatible repair
Suitable when the defect is isolated, surrounding materials are sound and dry enough to remain, compatible materials and details are available, and the repair can tie into stable work with clear termination points.
Coping or edge-metal work
Appropriate when attachment, joints, end conditions, transitions, corrosion, damage, or missing sections are driving entry. The scope should address securement and water shedding, not only visible caulk.
Parapet or facade repair
Needed when masonry, panels, sheathing, cladding joints, penetrations, or wall materials admit or retain water. Coordinate temporary roof protection and the final roof-to-wall tie-in before opening the wall.
Base-flashing replacement
May be required when flashing is split, detached, bridged, deteriorated, poorly terminated, too stressed to repair reliably, or connected to wet and damaged materials behind it.
Drainage correction
Necessary when water is held at the perimeter by blocked, damaged, frozen, poorly placed, or inadequate drainage. Roof, scupper, collection box, gutter, leader, discharge, and structural conditions may need separate roles.
Broader reroof or wall project
Worth evaluating when failures are widespread, wet materials extend beyond one detail, the assembly is near end of service life, repeated repairs conflict, or perimeter work cannot be tied into a dependable remaining system.
Connecticut’s current State Building Code page, local permit review, the selected roof system, structural conditions, wind design, fire requirements, drainage, and manufacturer details may affect the final assembly. GAF’s perimeter edge-metal design guide also explains that current model-code requirements address roof-edge metal, including coping, as more than a decorative cap. Have the responsible design, building, roofing, sheet-metal, masonry, and manufacturer teams resolve project-specific requirements rather than copying a generic detail.
If the building will remain occupied, use Ellis’s occupied-building reroof planning guide to coordinate access, debris, noise, temporary protection, daily dry-in, tenant communication, and decision authority. If rooftop equipment or another trade recently worked nearby, the rooftop service documentation guide helps assign baseline photos and closeout checks.
Compare Written Repair Proposals
A useful quote explains the finding, repair boundary, and proof of completion.
Be cautious with a proposal that says only “seal parapet,” “patch roof,” or “caulk coping.” Those phrases do not identify the water path, the material being repaired, the extent of damaged material, the connection between wall and roof work, or how the result will be checked. A short scope can still be clear; it should name the affected components and the limits of work.
Also compare exclusions beside the related task. One contractor may include lifting coping, replacing blocking, rebuilding base flashing, and resetting metal, while another prices only exposed sealant. A masonry proposal may stop above the roof flashing. A roofing proposal may exclude the exterior wall. The owner needs one coordinated sequence with responsibility at each interface, even when several specialists are involved.
For work that changes the roof edge, wall, drainage, structure, or assembly, confirm permit and inspection responsibilities in writing. Ellis’s Connecticut roof permit planning guide gives owners a practical checklist for early building-department questions.
Maintain the Perimeter After Repair
Use the repaired area as the start of a documented roof-edge plan.
After the repair, keep a closeout package with dated photographs, product information, approved details, repair limits, test results, contractor contacts, warranties, and the next inspection date. Mark the location on the roof plan. If a future leak occurs, the next team should be able to see what was opened and rebuilt instead of rediscovering the assembly.
Schedule inspections appropriate to the roof system, warranty, building use, surrounding trees, prior problems, and weather exposure. Include the parapet top, coping joints and attachment, wall faces, base flashing, terminations, corners, scuppers, gutters, leaders, rooftop attachments, membrane, and interior areas that showed prior symptoms. Inspect after significant storms or third-party rooftop work when conditions warrant, and document changes rather than relying on memory.
Keep drainage paths clear, but do not treat recurrent ponding or ice as a housekeeping issue alone. If water repeatedly remains against a wall, review slope, low points, outlet elevation and capacity, insulation, deck deflection, scupper and gutter geometry, leader condition, discharge, and overflow planning. Ellis’s commercial gutter and roof-edge drainage services can help connect the roof perimeter to the exterior water path.
Do not assume fresh sealant equals a maintained system. Sealant can be one component of a manufacturer-approved detail, but it has a service life and may be the wrong answer for movement, failed attachment, open masonry, saturated materials, or a missing transition membrane. Maintenance should preserve the intended assembly, not bury evidence under repeated layers.
Frequently Asked Questions
Questions Connecticut commercial owners ask about parapet leaks.
How can I tell whether a leak is from the parapet wall or roof membrane?
Start with the weather pattern, interior location, wall elevation, coping joints, base flashing, roof surface, drainage, and prior repair history. A qualified investigation may need controlled testing or selective openings because visual inspection alone cannot always distinguish the entry point.
Can open coping joints cause a roof leak?
Yes. Water entering through loose, damaged, missing, or open coping conditions can reach the wall, blocking, flashing, insulation, deck, or interior. The repair should address the full water path and securement, not only the visible joint.
Why did patching the membrane not stop the leak?
The entry point may be in the coping, wall, termination, scupper, penetration, or another roof area, and water may travel before appearing indoors. The patch may also be incompatible, placed over wet material, or unable to accommodate movement.
Does a parapet leak always require full roof replacement?
No. An isolated, confirmed defect with sound surrounding materials may support a localized repair. Broader work becomes more likely when defects, moisture, deterioration, or incompatible repairs extend beyond one detail or the remaining roof cannot provide a dependable tie-in.
Who repairs a parapet leak?
The needed team depends on the source and assembly. Commercial roofing, architectural sheet metal, masonry, carpentry, drainage, structural, facade, interior, or mechanical work may be involved. The scope should assign every interface rather than leave gaps between trades.
Should a leaking parapet be caulked before winter?
An emergency compatible seal may sometimes reduce exposure, but it should follow a safe inspection and be documented as temporary when the underlying condition is not resolved. Loose coping, wet materials, movement, failed flashing, masonry damage, or drainage problems need a repair designed for the actual cause.
What records should a property manager keep?
Keep leak-event dates, weather, interior and exterior photos, roof plans, prior repairs, warranties, inspection reports, test results, approved changes, product details, closeout photos, and the names of contractors or trades who accessed the roof.
How often should parapets and coping be inspected?
Follow the roof manufacturer, warranty, contractor, and property-specific maintenance plan. Conditions should also be checked after significant storms, wind events, freeze-thaw damage, leaks, and work by HVAC, electrical, sign, telecom, solar, or facade crews.
Next Step
Trace the water path before approving the repair.
Ellis Builders can evaluate accessible commercial roof and perimeter conditions, document likely leak paths, and help Connecticut owners coordinate roof membrane, flashing, coping, drainage, and connected exterior work. Bring the leak log, prior repair records, warranty information, and any photographs from active weather events.
Connecticut Commercial Roofing Contractor
Ellis Builders in Southbury, CT
Ellis Builders is based at 238 Reservoir Rd in Southbury and helps Connecticut property owners, managers, associations, and businesses evaluate commercial roof leaks, low-slope roofing, roof-to-wall transitions, gutters, drainage, and connected exterior conditions.
Explore Connecticut commercial roofing services, review Ellis service areas, or plan a commercial roof evaluation.
Technical references used in this guide include GAF’s roof-to-wall flashing guidance, commercial coping information, and perimeter edge-metal guide; Johns Manville’s reroofing evaluation guide and maintenance checklist; and Connecticut’s current State Building Code page.